2026-10-04
Hoarding Graphics Replacement: When and How to Reorder Panels
By Bryce Mitchell — Founder, Rapid Retail Graphics
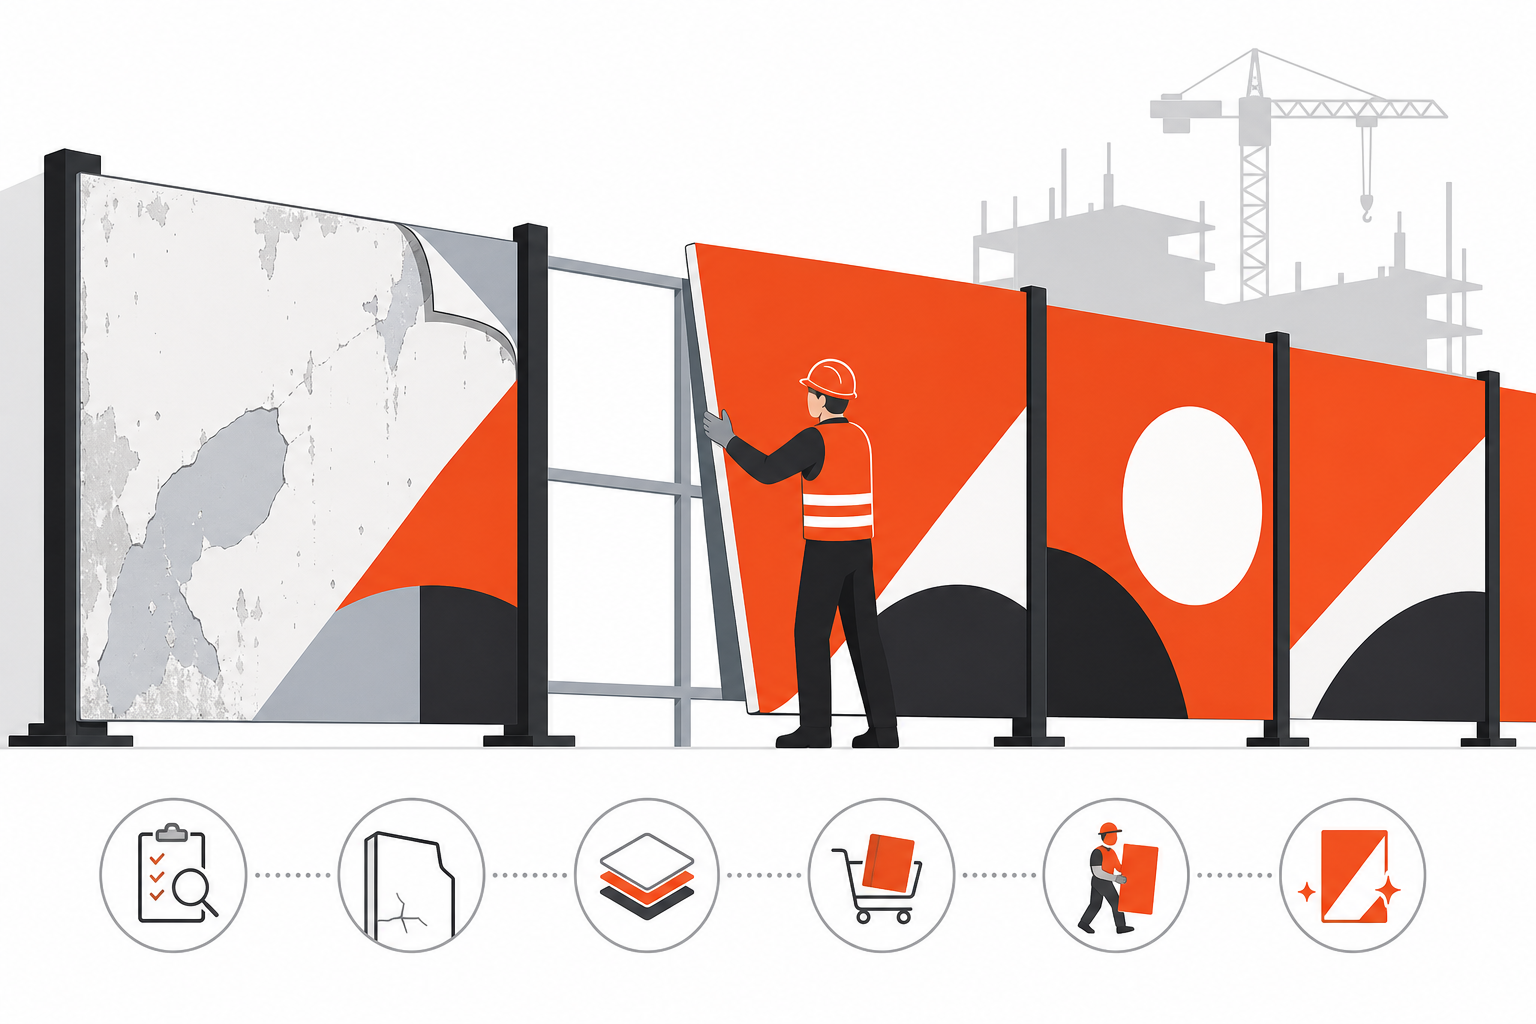
This article covers when hoarding graphics need replacing and how to reorder them. Replacement is needed when panels show visible fading, delamination, physical damage, or when a brand campaign changes. The reorder process runs six steps: audit panels, check the substrate, decide on a partial or full refresh, verify measurements, specify protective laminates, and coordinate the swap-out with site management. With files ready and measurements confirmed, that process is often completable in one to five business days.
Treating hoarding as a set-and-forget installation is a common mistake. These panels face foot traffic, cleaning chemicals, UV exposure, and the occasional shopping cart. Knowing when to replace them keeps your site compliant and your brand presentation intact for the full length of a fit-out.
How Long Do Hoarding Graphics Replacement Panels Actually Last?
Lifespan depends almost entirely on the substrate and the protective finish applied at print time. There is no single number that covers every installation.
Aluminium composite material panels, often sold under the name Dibond, consist of two thin aluminium sheets bonded to a polyethylene core. That rigid construction limits expansion and contraction compared to PVC foam or timber, which matters in mall environments where temperature and humidity shift with HVAC cycles. According to Carbon8 Print's 2026 data, ACM panels treated with UV lamination are designed to last between 12 and 36 months, a range that reflects how much site conditions, cleaning frequency, and direct sunlight exposure vary across installations. For a deeper look at how material and finish choices affect overall project spend, the retail hoarding graphics cost and timeline guide covers the variables in detail.
Vinyl-faced timber hoarding sits at the lower end of the durability spectrum. The timber substrate absorbs moisture, and the vinyl face can lift at edges or seams under repeated cleaning. It stays common in short-duration fits where cost drives the decision, but it is not the right choice for a 12-month or longer project.
Direct-print timber hoarding, where ink is applied straight to the board surface, is the most vulnerable option. Without a protective laminate, the print degrades faster under UV and abrasion. If your site uses this substrate, factor in a shorter replacement cycle from the start.
The protective finish applied over the graphic matters as much as the substrate itself. UV laminates slow colour shift in well-lit mall corridors. Anti-graffiti coatings allow surface cleaning without damaging the print layer underneath. Specifying the right laminate at the time of print extends usable life and reduces the frequency of full panel replacements.
Standard ACM panels run 3mm thick. That thickness keeps them flat across a full hoarding bay without bowing, which also helps the graphic surface resist peeling at the edges.
What Are the Signs That Hoarding Graphics Need Replacing?
Some issues are cosmetic. Others signal that a panel has reached the end of its useful life. Knowing the difference saves you from replacing panels that only need cleaning, and from leaving damaged ones up too long.
According to Media.co.uk's 2026 report, daily site walk-throughs by management teams can identify approximately 75% of hoarding graphic issues before they require professional repair. That figure reflects the value of a simple visual check as part of routine site management, not a guarantee of catching every defect.
The following signs indicate replacement is needed rather than cleaning or spot repair:
- Colour fading or bleaching. UV exposure breaks down ink pigments over time. When a graphic looks noticeably lighter than an adjacent panel, or when brand colours have shifted enough to be visible at a distance, cleaning will not restore it.
- Edge lifting or delamination. When the vinyl or print layer separates from the substrate at corners or seams, moisture and debris work their way underneath. The panel will continue to deteriorate from that point.
- Surface bubbling. Bubbles beneath the graphic face indicate adhesion failure, usually caused by moisture in the substrate or improper surface preparation at installation. Bubbles do not resolve on their own.
- Physical impact damage. Dents, cracks, or punctures in the panel face compromise both the visual and the structural integrity of the hoarding. Damaged panels on a site perimeter may also trigger a compliance review.
- Graffiti that cannot be cleaned. Anti-graffiti laminates allow surface removal of most tags. Without that coating, aggressive cleaning can damage the print layer, leaving a panel that is technically graffiti-free but visually degraded.
- Campaign change or brand update. A new campaign, a revised logo, or updated brand guidelines require new artwork regardless of the physical condition of the existing panels.
- Visible mismatch between panels. When one panel has been replaced previously and the colour no longer matches its neighbours, the inconsistency reads as neglect. That matters in a high-footfall mall environment where the hoarding is a primary brand touchpoint.
Properly maintained hoarding graphics can boost brand recall by up to 47% compared to deteriorating installations, per Media.co.uk's 2026 research. The inverse is also true: panels that are visibly degraded work against the brand rather than for it.
Regulatory Compliance: What Site Perimeter Rules Apply to Replacement Panels?
Replacing panels on an active site perimeter is not purely a print-and-swap operation. The hoarding is a regulated structure, and any work that alters its panels can bring it back into scope for inspection.
North American building and safety codes generally treat construction hoarding as a temporary structure subject to the same permit conditions as the original installation. When you swap panels, you are typically required to maintain the same height, structural integrity, and site boundary as the approved hoarding plan. Panels that reduce the effective barrier height, or that leave gaps in the perimeter while work is underway, can put the site out of compliance with the original permit.
Fire egress is a consistent requirement across jurisdictions. Replacement panels must not obstruct emergency exit paths, and any panel work that temporarily opens the hoarding line needs to be managed so that the egress route remains clear and marked throughout. Mall landlords, including Simon, Cadillac Fairview, and Oxford Properties, typically require that any modification to a hoarding installation, including panel replacement, be reviewed against the original landlord approval package before work begins.
Accessibility clearances apply as well. The path of travel along a hoarding line in a public mall must remain compliant with accessibility standards during and after the swap. If replacement panels shift the hoarding face even slightly toward the pedestrian corridor, that change needs to be checked against the approved clearance dimensions.
Some jurisdictions also require that replacement materials meet the same fire-rating specifications as the original approved substrate. If your original panels were specified to meet a particular fire-resistance standard, the replacement panels need to match it. Substituting a different substrate without verifying its fire rating can void the site permit.
Before any replacement work starts, pull the original permit and landlord approval documents. Confirm that the replacement substrate matches the approved specification, that the panel swap schedule does not create a gap in the perimeter, and that the contractor performing the installation has the access credentials required by mall operations. Getting this wrong on an active site creates delays that compound quickly.
How to Reorder Hoarding Panels: A Step-by-Step Process
The reorder process has a fixed sequence. Running steps out of order is where projects stall: measurements turn out wrong, artwork files are not ready, or the installation window conflicts with mall trading hours.
- Audit existing panels for environmental or physical damage. Walk the full hoarding run and document every panel. Note fading, edge lifting, bubbling, impact damage, and graffiti. Photograph each panel in sequence so you have a numbered record. This audit tells you whether you are dealing with isolated replacements or a full refresh, and it gives your print vendor the information needed to prioritise production. Daily walk-throughs can catch roughly 75% of issues before they require professional repair, so if you have been running regular checks, your audit documentation may already be partially complete.
- Evaluate the condition of the underlying substrate. A graphic can look intact while the panel behind it has structural problems. Check ACM panels for delamination at the core, visible denting, or any sign that the aluminium face has separated from the polyethylene layer. On timber hoarding, check for moisture absorption, soft spots, and warping. If the substrate is compromised, replacing the graphic alone will not hold. The new panel face will fail at the same rate as the old one. Substrate replacement adds time and cost, but it is the only durable fix.
- Determine if a partial or full campaign refresh is needed. Isolated physical damage calls for panel-for-panel replacement matched to the existing campaign. A brand update, a new campaign launch, or widespread colour shift across multiple panels calls for a full refresh. Partial replacements require close colour matching between new and existing panels, which is harder to achieve the longer the original installation has been in place. If more than a third of your panels need replacing, a full run is often cleaner and faster than trying to match a faded campaign. The retail hoarding graphics cost and timeline guide covers how partial versus full refresh decisions affect overall project budget.
- Verify measurements for the new panel run. Do not rely on drawings from the original installation. Hoarding lines shift during fit-out. Panels get trimmed on site. Anchor points move. A fresh site measurement, confirmed against current photos and drawings, is the only way to ensure new panels arrive cut to the right dimensions. For partial replacements, measure each gap individually. Panel bays that look identical on a drawing are often fractionally different in the field.
- Specify protective laminates for the replacement graphics. Match the laminate specification to your remaining project timeline and site environment. A high-footfall mall corridor with direct overhead lighting warrants UV laminate as a minimum. If the site has a graffiti history, add an anti-graffiti overlaminate. Specifying the right finish at this stage extends the usable life of the replacement panels and reduces the chance of another unplanned reorder before the fit-out completes. For a detailed breakdown of material and finish options, the large-format printing materials and specs guide covers substrate and laminate combinations in full.
- Coordinate the swap-out with the builder and site management. Panel installation on an active mall site requires access coordination with mall operations and the construction team. Most landlords require installation outside trading hours, which means your print vendor needs to deliver panels in time for a specific overnight or early-morning window. Confirm the access schedule, the credentialing requirements for the installation crew, and the waste removal plan for the old panels before the installation date is locked. A missed access window on a mall site typically means a 24-hour delay at minimum. Build that contingency into your timeline from the start.
With artwork files ready and measurements confirmed, a managed replacement order can move from survey to installed panels in one to five business days. The constraint is almost never print production. It is artwork readiness and site access coordination.
Choosing the Right Material and Finish for Replacement Panels
For most active mall projects, ACM (aluminium composite material) is the right substrate for replacement panels. Its rigid core limits expansion and contraction across temperature and humidity shifts, and it holds a flat face across a full hoarding bay without bowing or edge lift. That structural stability makes it a practical match for both short-duration fit-outs and longer construction programs.
The table below compares the three most common hoarding substrates to help you choose the right option for your replacement run.
| Material | Typical Lifespan | Best For | Protective Finish Options |
|---|---|---|---|
| ACM / Dibond | 12 to 36 months (with UV laminate) | Long-duration projects, high-footfall malls, brand-critical installations | UV laminate, anti-graffiti overlaminate, matte or gloss face |
| Vinyl-faced timber | Shorter duration, site-dependent | Budget-driven short fits, temporary campaigns under six months | Gloss or matte vinyl face; limited overlaminate options |
| Direct-print timber | Shortest; degrades faster under UV and abrasion | Very short fits where cost is the primary driver | Protective overlaminate strongly recommended; without it, print life is significantly reduced |
For guidance on substrate and laminate combinations, see printing materials and finishes for high-traffic malls.
Labor costs for on-site panel replacement vary by site conditions, panel count, and access constraints. Get a line-item breakdown from your vendor before the installation window is confirmed so there are no surprises once the panels arrive.
How Rapid Retail Graphics Handles Panel Replacement Across the United States and Canada
Rapid Retail Graphics is a single-vendor hoarding graphics service covering site surveys, artwork production, large-format print, and coordinated on-site installation for mall landlords, leasing teams, and retail brands across the United States and Canada.
For panel replacement, that single-vendor model removes the coordination problem that slows most reorders. The team handles the site survey and measurements, adapts existing campaign artwork to the replacement panel layout, prints on the specified substrate and laminate, and installs during a window coordinated with mall operations and security, typically outside trading hours. One contact handles all of it. You do not manage a separate print vendor, a separate installer, and a separate access request to mall management.
If your campaign files need adaptation to fit the replacement panel dimensions, the team works from your existing brand assets rather than requiring a full artwork rebuild.
For brand managers running multi-location programs, that consistency matters. Panels across twelve locations need to look like they came from the same campaign. That is the standard the process is built around.
For a full breakdown of service scope, see hoarding graphics printing and installation.
Frequently Asked Questions
What is hoarding signage in construction?
Hoarding signage refers to the graphics applied to the temporary barrier panels that enclose a construction or fit-out site. In a retail context, the hoarding forms the perimeter of a space under renovation or new build, and the graphics turn that barrier into a brand-facing surface. The panels face the pedestrian corridor and function as a billboard-scale brand touchpoint for the duration of the fit-out.
What is the standard size of a hoarding panel?
Panel sizes vary by site and substrate. ACM panels are commonly supplied in 4-by-8-foot sheets, though hoarding bays are often wider, requiring panels to be cut or joined to fit the specific bay dimensions. Always verify measurements on site rather than relying on drawings. Bay widths that appear identical on a plan are frequently different in the field, and a panel cut to drawing dimensions may not fit the actual opening.
Can hoarding graphics be made from eco-friendly materials?
Some print vendors offer substrates and inks with reduced environmental impact, including water-based inks and panels made with recycled content. The right choice depends on whether the substrate meets the structural and fire-rating requirements of your specific site permit. Confirm that any eco-friendly alternative matches the approved specification before ordering, particularly on sites where the original permit called out a specific substrate or fire-resistance standard.
How do you remove graffiti from hoarding panels?
Panels specified with an anti-graffiti overlaminate allow most surface tags to be removed with a solvent cleaner without damaging the print layer underneath. On panels without that coating, aggressive cleaning often degrades the graphic surface along with the graffiti, leaving a panel that is technically clean but visually damaged. If your site has a graffiti history and your current panels lack an anti-graffiti finish, specify it on the replacement order.
How far in advance should I reorder hoarding graphics to avoid a site gap?
With artwork files ready and measurements confirmed, a managed replacement order can be completed in one to five business days from survey to installed panels. Start the reorder process as soon as your audit identifies panels that need replacing, rather than waiting until the condition becomes urgent. The constraint is almost never print production. It is artwork readiness and the availability of an approved installation window with mall operations.
Can replacement panels be printed to match an existing campaign mid-project?
Yes, but colour matching becomes harder the longer the original installation has been in place. Panels that have been exposed to UV and foot traffic shift in tone over time, and new panels printed to the original file may read as noticeably brighter or more saturated next to the aged originals. If more than a third of your panels need replacing, a full campaign refresh is often cleaner than a partial match. For more detail, the refresh and reprint matching guide covers the colour-matching process and when a full run makes more sense than a spot replacement.
Conclusion
Hoarding graphics need replacing when fading, delamination, physical damage, or a campaign change makes the current panels work against the brand rather than for it. The six-step reorder process, from panel audit to coordinated swap-out, is the same whether you are replacing two panels or an entire hoarding run. The right substrate, the right laminate, and confirmed measurements mean replacement panels go in without a gap in your site perimeter or your brand presentation.
Start with the audit. Walk the full hoarding run, photograph each panel in sequence, and check the substrate condition before you specify anything. That documentation drives every decision that follows: partial or full refresh, substrate choice, laminate specification, and the installation window to book with mall operations. If your artwork files are current and your measurements are confirmed, the rest of the process moves quickly.
Have a hoarding project coming up?
Get a Quote