2026-07-29
Vinyl Graphics Installation for Mall Hoarding: What the Process Looks Like on Site
By Bryce Mitchell — Founder, Rapid Retail Graphics
You've confirmed the hoarding dimensions, the brand files are approved, and the store opening is three weeks out. Now the real question: what actually happens between "files sent" and "barrier up"?
If you've never watched a vinyl graphics installation on a live mall site, the process can feel like a black box. And when your timeline has no slack, that uncertainty creates real risk.
Here's exactly what happens on site, in order, so you know what to expect and what to ask your vendor before you commit.
Why the On-Site Process Matters More Than the Print
Most leasing coordinators focus on the artwork. That's understandable. But the print is only half the job. A perfectly produced graphic can still fail if the installation crew shows up unprepared, applies panels in the wrong sequence, or leaves visible seams at eye level in a high-traffic corridor.
The on-site process is what determines whether the finished barrier looks the way the brand intended, passes mall operations sign-off, and holds up through the construction period. Understanding it helps you ask better questions and spot vendors who are cutting corners.
Step 1: Site Survey and Panel Mapping
Before any vinyl goes to press, the site needs to be measured accurately. Hoarding panels in malls are rarely perfectly uniform. Corner returns, column wraps, door cutouts, and varying panel heights are all common variables. A site survey captures all of it.
The output is a panel map: a numbered layout showing exactly how the printed graphics will align across the full barrier face. This is the document that connects the artwork file to the physical wall. Without it, you're guessing at panel breaks, and misaligned seams are the most common complaint from mall operations teams.
If your vendor skips the site survey and asks you to provide measurements yourself, that's a risk worth taking seriously. Field dimensions and drawing dimensions rarely match exactly — what a proper hoarding graphics site survey covers goes deeper on the measurements that matter.
Step 2: Artwork Adaptation to Panel Layout
Once the panel map exists, the artwork gets adapted to fit it. This isn't simply resizing a brand file. The installer needs to know where each panel break falls within the overall design so that graphic elements, text, and color fields align correctly across joints.
This step also accounts for bleed zones at panel edges, any overlap required by the substrate, and restrictions from the mall's hoarding standards. If your brand files were built for a campaign format rather than a hoarding layout, this adaptation work is where the quality difference between vendors becomes obvious.
For a closer look at what to prepare before production starts, what you need to know before ordering large-format retail hoarding graphics covers the key file and spec requirements.
Step 3: Large-Format Print Production
With adapted files confirmed, the panels go to print. For mall hoarding, the standard output is wide-format vinyl produced on commercial flatbed or roll-to-roll equipment. The material needs to handle foot traffic, cleaning, and the full construction period without peeling or fading.
Print production is typically where the 1 to 5 business day window at Rapid Retail Graphics is most compressed. Rush options exist, but the faster the turnaround, the more critical it is that files are print-ready before production starts. Revisions after production begins add both cost and time.
Step 4: Pre-Installation Coordination with Mall Operations
This step is often invisible to the client, but it directly affects whether your install happens on schedule.
Mall operations teams control when and how work can be done on the hoarding barrier. Most malls require work outside trading hours, which typically means evenings or early mornings. Some properties require 48 to 72 hours advance notice, a certificate of insurance from the installer, and confirmation that the crew has been cleared with mall security.
If your vendor hasn't handled this coordination before arriving on site, the crew can be turned away. That means a missed install window and a delayed opening.
How mall operations teams evaluate hoarding graphics vendors explains what approval teams at properties like Cadillac Fairview, Oxford Properties, and Ivanhoe Cambridge are actually checking for, and what gets vendors approved faster.
Step 5: Surface Preparation
On the night of the install, the crew's first task is surface prep. Hoarding panels are typically painted MDF or plywood. Any dust, grease, or residue on the surface will prevent the vinyl from bonding correctly.
The crew wipes down panels, checks for protruding fasteners or damaged sections, and confirms the panel map matches what's physically on site. If the survey was done correctly, this step moves quickly. If there are discrepancies, the crew needs to adapt the panel sequence before application begins.
Step 6: Vinyl Application
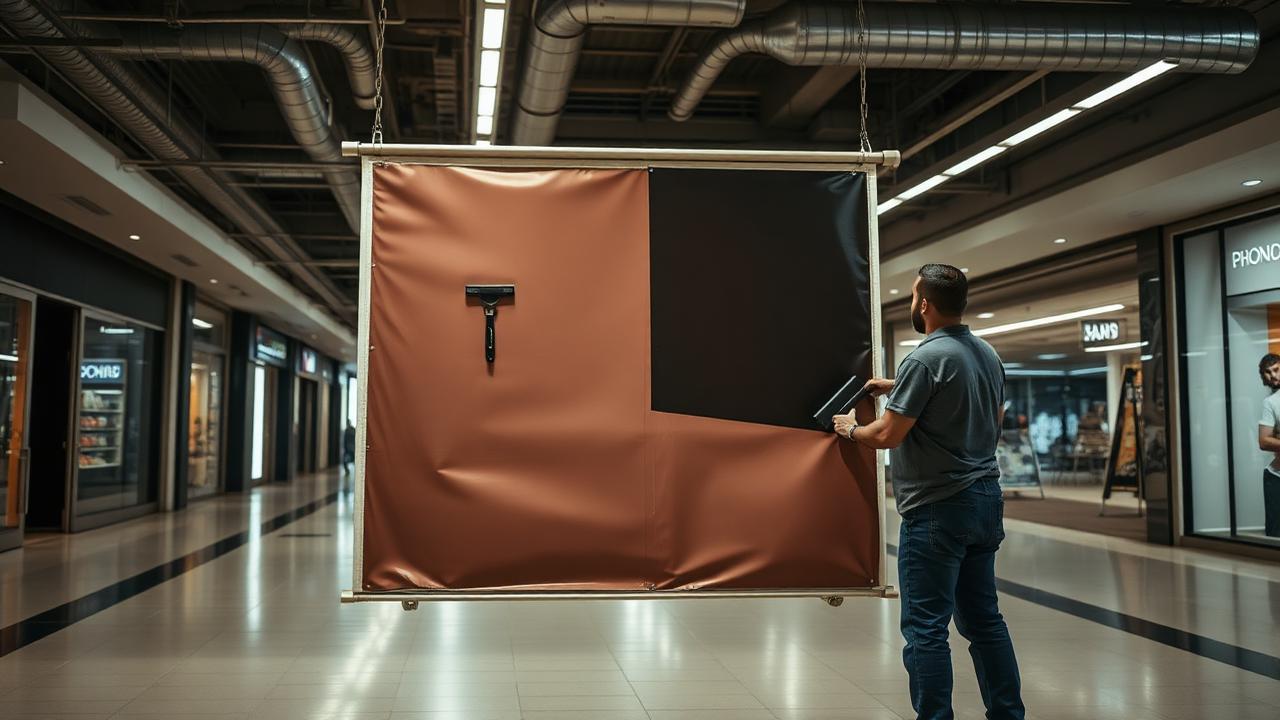
Application is the most skill-dependent part of the process. Large-format vinyl panels are heavy, awkward to handle in a narrow corridor, and unforgiving once they make contact with the surface. A good installation crew works in pairs: one person positions and holds the panel, the other applies pressure and works out air bubbles with a squeegee.
Sequence matters. Panels are applied from one end of the barrier to the other in a fixed direction, using the panel map as the guide. Each panel is aligned to the previous one before being fully committed to the surface.
Seam placement is the detail that separates a professional install from a rushed one. Seams should fall at natural breaks in the design, not through faces, logos, or critical text. This is exactly why the artwork adaptation step and the application step need to be connected, ideally handled by the same vendor.
Corner and Return Panels
Corner panels require the vinyl to wrap around a 90-degree return. This is done by scoring the vinyl at the corner and applying each face separately, or by using a pre-cut wrap that accounts for material thickness. Poorly executed corners bubble, peel at the edge, or create visible color discontinuity. Mall operations teams notice.
Door and Cutout Sections
Where the hoarding includes a door for contractor access, the vinyl around the door frame needs to be cut cleanly and finished at the edges so it doesn't catch or peel as the door opens and closes. It's a finishing detail that gets skipped when crews are rushing.
Step 7: Final Inspection and Sign-Off
Once all panels are applied, the crew does a full walk of the barrier before leaving site. They're checking for lifted edges, visible bubbles, misaligned seams, and any panels that need to be repositioned.
The install isn't complete until the barrier looks the way the brand file intended, viewed from the distance a shopper would actually stand at. That's the standard.
After the crew signs off, the project manager or leasing coordinator does their own walkthrough, ideally before the mall opens for trading. If the property requires a formal sign-off from mall operations, that happens at this stage.
What Can Go Wrong (and How to Prevent It)
Most installation problems trace back to one of three causes:
- Inaccurate measurements that weren't caught during the survey phase
- Artwork that wasn't adapted to the actual panel layout before print
- Coordination failures with mall operations that delay or block the install window
The way to prevent all three is to use a vendor who handles survey, production, and installation as a single coordinated scope. When those functions are split across multiple vendors, handoff errors accumulate and nobody owns the final result.
At Rapid Retail Graphics, the full process from site survey to installed barrier runs under one project timeline. That's what makes the 1 to 5 business day commitment achievable. Pricing starts at approximately $6 per square foot, inclusive of print and standard installation — see pricing & turnaround for the full breakdown.
FAQs
How long does a vinyl graphics installation take on site?
For a standard retail hoarding barrier, on-site installation typically takes one to four hours depending on linear footage and barrier complexity. Corner wraps, door cutouts, and high ceilings add time. Most installs are scheduled during evening or overnight hours to avoid disrupting mall traffic.
Does the hoarding surface need any special preparation before vinyl is applied?
The surface needs to be clean, dry, and free of dust or grease. The installation crew handles this as part of the on-site process. Panels with significant damage, rough texture, or previous adhesive residue may need additional prep work, which should be flagged during the site survey.
What happens if a panel is applied incorrectly?
Vinyl can be removed and reapplied if caught early, but it depends on the material and how long it has been on the surface. A professional crew will catch alignment issues before fully committing each panel. If a panel is damaged during removal, it typically needs to be reprinted.
Can vinyl graphics be installed on any hoarding material?
Vinyl adheres well to painted MDF, plywood, and most smooth rigid substrates commonly used for mall hoarding. Textured or porous surfaces require a different application approach or a surface primer. This is assessed during the site survey.
How do I know the install will meet my mall's hoarding standards?
Your vendor should be familiar with the specific requirements of the property, including approved materials, finish standards, and any restrictions on graphic content near fire exits or accessible routes. Rapid Retail Graphics documents compliance requirements for landlords including Cadillac Fairview, Oxford Properties, and Ivanhoe Cambridge.
What file formats are needed for vinyl graphics production?
High-resolution vector files (AI, EPS, PDF) are preferred. Raster files (PSD, TIFF) are workable at sufficient resolution, typically 150 to 300 DPI at final print size. If you're working from campaign files that weren't built for large-format output, the artwork adaptation step handles the conversion and panel mapping.
What's the difference between a single-vendor and multi-vendor hoarding installation?
With a single vendor, the same team that surveys the site adapts the artwork, produces the print, and installs the panels. Handoffs are internal, so errors are caught before they reach the wall. With multiple vendors, the print shop produces to spec but has no visibility into site conditions, and the installation crew has no connection to the artwork decisions. Misaligned seams and panel sequence errors are far more common in multi-vendor setups.
If you're within six weeks of a store opening and still coordinating vendors, get a quote or use the instant estimate calculator to get a number before the first conversation.
Have a hoarding project coming up?
Get a Quote