2026-06-08
Preparing Brand Files for a Hoarding Graphics Project: A Checklist for Art Directors
By Rapid Retail Graphics Production Team — Production Specialists, 12+ Years in Retail Graphics
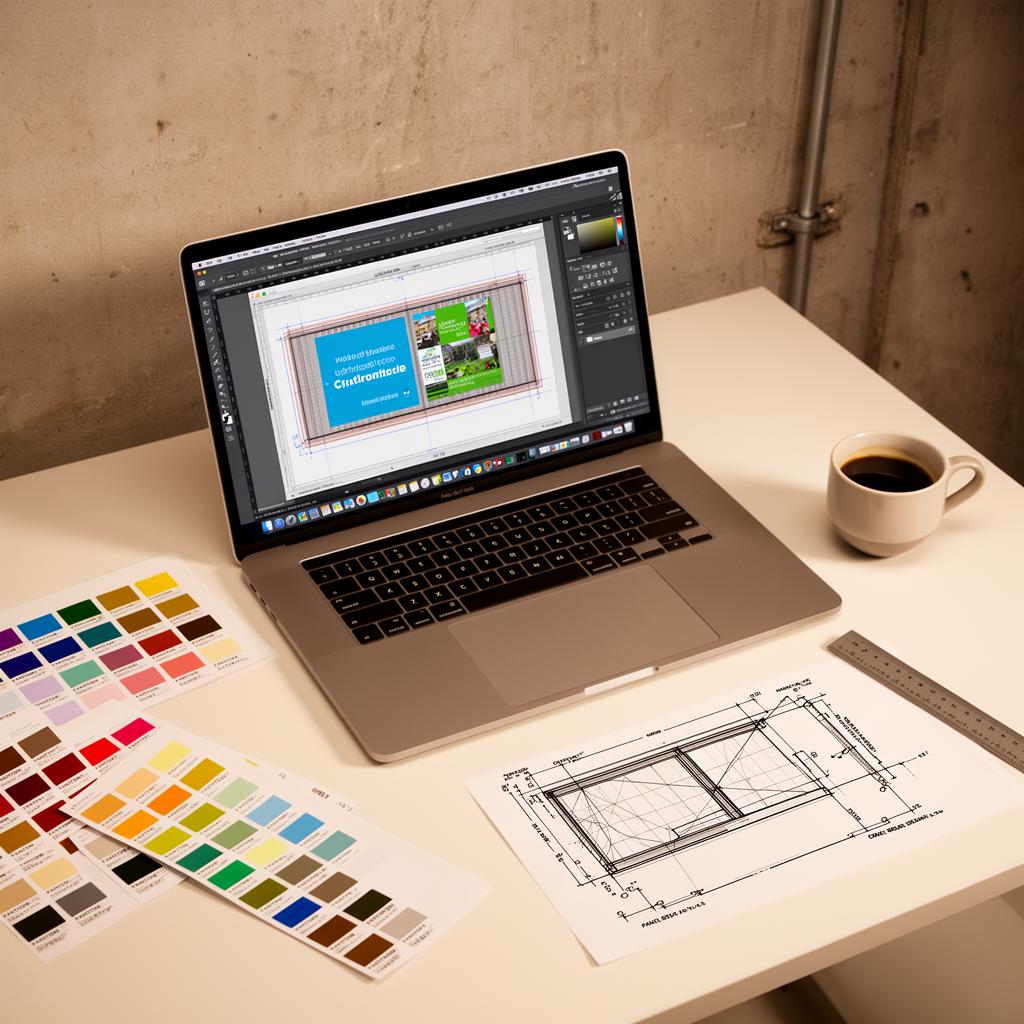
Most file preparation problems on hoarding projects aren't creative problems. They're technical — wrong colour profile, missing bleeds, fonts not outlined, artwork built at screen resolution. The print vendor flags them at preflight, the correction cycle adds 24–48 hours, and the install window closes.
This checklist is for art directors and brand managers preparing files for large-format hoarding print. It covers what the production team actually needs, where files commonly fail, and what to confirm before you submit.
File Format and Resolution Requirements
Large-format hoarding print doesn't use the same resolution standards as offset or digital display work. The viewing distance is different, and the file sizes involved are substantial.
300 DPI at final print size is the standard for close-viewing panels — anything within arm's reach of foot traffic. For panels viewed from 3 metres or more, 150 DPI at final size is typically acceptable, but confirm with your vendor before dropping resolution.
Submit files as print-ready PDFs with bleeds embedded, or as layered PSDs or AIs with all assets linked and packaged. Don't submit files with live effects unflattened unless the vendor has confirmed they can handle them on their end.
The failure mode here is submitting a file built at 72 DPI because it looked fine on screen. It will not look fine at 10 feet wide. Enlarging a low-resolution file at the production stage does not recover detail.
Colour Profile: CMYK, Not RGB
Hoarding graphics print in CMYK. If your brand files are built in RGB — common for digital-first campaigns — you need to convert them before submission, not after.
Convert to CMYK before submitting. Don't leave conversion to the print vendor. Automatic RGB-to-CMYK conversion at the RIP stage produces unpredictable results, particularly for brand colours with specific Pantone references.
If your brand has defined CMYK equivalents for its primary colours, include those values in the file notes or a separate colour reference sheet. Vendors running high-volume retail graphic design production will match to your specified values — but only if you provide them.
The failure mode here is assuming the vendor will match your brand colours without a reference. They will print what the file contains. If the file contains an unconverted RGB value, the output will reflect that.
Bleeds, Safe Zones, and Panel Break Alignment
Hoarding walls are not single sheets. They're assembled from panels — typically 4-foot or 8-foot sections — with panel breaks at every joint. Your artwork needs to account for this.
Bleed requirement: Minimum 0.25 inches on all edges. For large panels, 0.5 inches is safer. Confirm the exact requirement with your vendor based on the specific hoarding system being used.
Safe zone: Keep all critical artwork elements — logos, taglines, faces, product shots — at least 1 inch from any edge and away from panel break lines. If a face or product is centred on a panel break, it will be split by a visible seam. That is not a production error; it is a file preparation error.
What this means practically: Request the panel break template from your vendor before you finalize layout. The template shows exactly where seams fall on your specific hoarding dimensions. Build your artwork around it, not after the fact.
The print-ready artwork guide for hoarding projects covers the full technical specification in more detail, including how panel break templates are generated from site measurements.
Font Handling
Outline all fonts before packaging or exporting. Don't submit files with live type unless you're also packaging every font file and the vendor has confirmed they can accept them.
Missing fonts at preflight cause delays. The vendor cannot substitute a font without changing the layout. If the font isn't embedded or outlined, the file sits until the issue is resolved — and that resolution requires a resubmission from you.
This applies to every font in the file, including fonts used in small-print legal copy, disclaimers, or secondary text elements that are easy to overlook.
Image Linking and File Packaging
If you're submitting a native AI or INDD file, package it correctly. Every linked image must be included. A file that opens with broken links on the vendor's system requires a back-and-forth to identify what's missing — and that adds time you probably don't have.
For Illustrator files, use File > Package to collect all linked assets into a single folder. InDesign has the same function under File > Package. Include the document fonts in the package even if you've already outlined type in the artwork.
The failure mode here is emailing a single AI file without the linked images because it looked complete on your machine. The links are local paths. They do not transfer.
Artwork Dimensions and Scale
Build artwork at the correct final output dimensions — not at a scaled-down proxy. If the hoarding wall is 20 feet wide by 8 feet tall, the file should be 20 feet by 8 feet at the correct DPI, not 10 feet by 4 feet at double DPI.
Some vendors accept scaled files with a clear scale notation, but this introduces risk. If the scale factor is misread or not applied, the output is wrong. Building at final size removes that variable entirely.
Confirm the exact dimensions from the site survey before you build. Hoarding walls are rarely the round numbers on the leasing drawings. A wall listed as 20 feet in the lease plan may measure 19 feet 7 inches on site. The large-format printing guide for retail hoarding explains how site measurements feed into production templates and why the survey step is not optional.
Artwork Approval Requirements for Mall Submissions
Many landlords require artwork approval before installation. This is a separate process from your internal brand review. Cadillac Fairview, Oxford Properties, and Ivanhoé Cambridge centres all run artwork through their tenant coordination portals, and each has specific format requirements for the submission file.
The artwork approval is not optional. Submitting to the mall requires a separate, often lower-resolution PDF — typically a flattened 150 DPI file at full dimensions — alongside your print-ready file. Some landlords also require a physical proof or a scaled rendering showing the artwork in context.
Build the mall submission version into your file preparation workflow from the start. Don't treat it as an afterthought once the print-ready file is done.
The clock starts when mall ops approves the artwork, not when you submit it. If the submission is missing required elements or uses a non-compliant format, the review cycle restarts.
Checklist Summary
Before you submit files for a hoarding project, confirm each of the following:
- Resolution: 300 DPI at final print size for close-viewing panels; 150 DPI minimum for panels viewed from 3 metres or more
- Colour profile: Converted to CMYK with brand colour values documented
- Bleed: Minimum 0.25 inches on all edges; 0.5 inches preferred
- Panel breaks: Artwork built around the vendor's panel break template; no critical elements centred on seams
- Fonts: All fonts outlined or packaged with the file
- Links: All linked images packaged and included
- Dimensions: File built at final output size, confirmed from site survey measurements
- Mall submission file: Separate flattened PDF prepared to landlord specifications, if artwork approval is required
If you're managing a rollout across multiple locations, each site has its own dimensions and panel break positions. The multi-location hoarding rollout guide covers how to structure file delivery when you're producing for several centres simultaneously.
What Happens When Files Arrive Incomplete
Vendors running tight install schedules cannot hold a project while waiting for a corrected file. If your file fails preflight — wrong colour profile, missing bleeds, unpackaged links, low resolution — the project either delays or proceeds with a vendor-side correction that may not match your intent.
Most production delays on hoarding projects trace back to file preparation, not to print or install capacity. The checklist above isn't exhaustive, but it covers the items that account for the majority of preflight failures in retail graphic design production.
For projects with specific technical questions before submission, Rapid Retail Graphics provides templates and site-specific artwork guides as part of the production process.
FAQs
Have a hoarding project coming up?
Get a Quote