2026-08-17
How to Wrap a Construction Fence With Branded Graphics: Materials and Installation Steps
By Bryce Mitchell — Founder, Rapid Retail Graphics
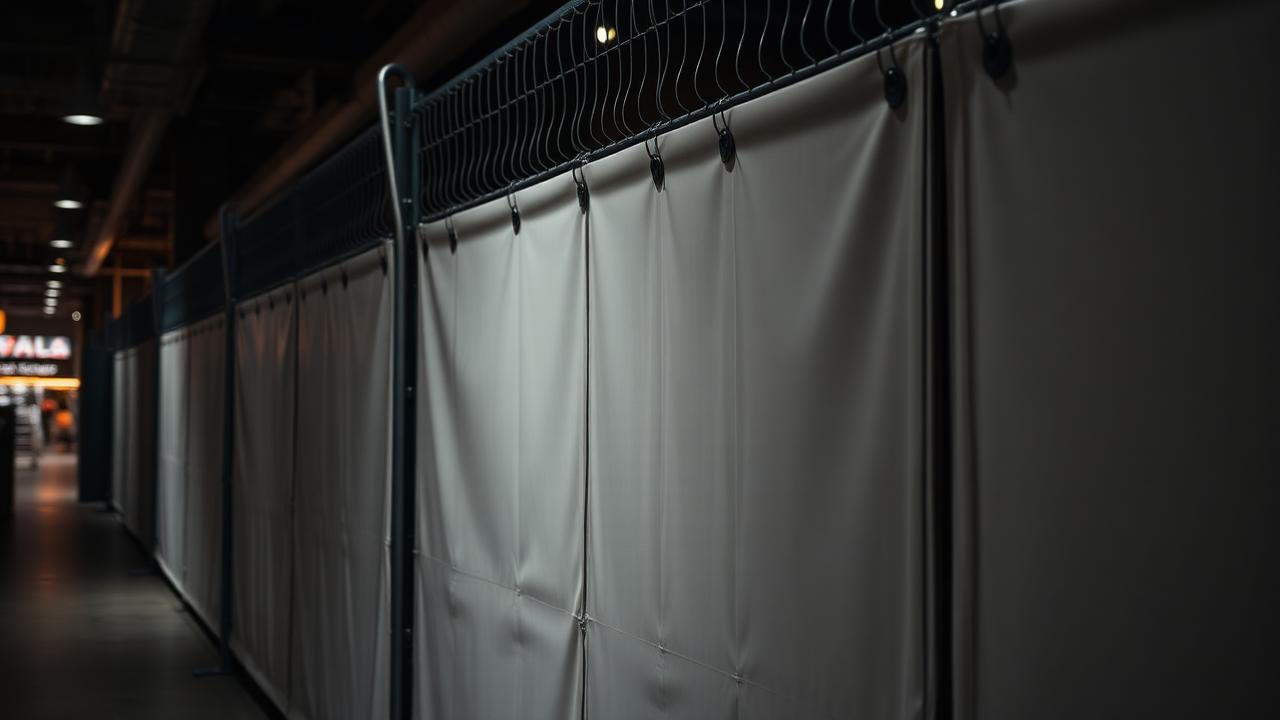
A construction fence is one of the most visible surfaces in any retail environment. During a renovation or new store build-out, it faces foot traffic for weeks, sometimes months. Done well, it builds anticipation and reinforces your brand. Done poorly, it looks like an afterthought — and that reflects on whoever approved it.
This guide covers the materials, preparation, and installation process for wrapping a construction fence with branded graphics, whether you're managing a single mall location or coordinating across multiple sites.
What Is a Construction Fence Wrap?
A construction fence wrap is a large-format printed graphic applied to a temporary barrier — typically a chain-link fence, hoarding panel system, or plywood barricade. It functions as both a visual screen and a brand communication surface.
In retail settings, these wraps usually carry brand imagery, campaign messaging, a store opening teaser, or some combination. The right substrate and installation method depend on the fence type, the project duration, and whether the location is indoors or outdoors.
Materials Used for Construction Fence Wraps
Material selection is where most DIY attempts fall apart. The wrong substrate warps, fades, or tears before the project is even finished.
Mesh Vinyl
Mesh vinyl is the standard for outdoor chain-link fences. Its perforations let wind pass through, which reduces load on the fence structure and keeps the graphic from acting like a sail. It's durable, prints well in large widths, and holds color reliably in direct sunlight.
For indoor mall hoarding on solid panels, mesh is usually unnecessary. But on any outdoor perimeter fence, it's the right call.
Solid Vinyl Banner Material
Solid vinyl is used on plywood hoarding panels and other rigid surfaces where wind loading isn't a factor. It produces sharper print results than mesh and is easier to clean — which matters in high-traffic mall corridors where surfaces get touched, scuffed, and occasionally tagged.
Opt for matte or satin finishes over gloss. Glossy surfaces create glare under retail lighting and make photography difficult for your marketing team.
Fabric Substrates
Some premium retail installs use fabric-based materials, particularly for interior hoarding in fashion or luxury contexts. Fabric has a softer visual quality and can be backlit if the hoarding structure supports it. It's more expensive and requires careful handling during installation.
Adhesive-Backed Films
For smooth, rigid surfaces like painted drywall or metal panels, adhesive-backed vinyl films work well. Applied like a large decal, they're precise and clean-looking — but they require a very smooth substrate and careful removal at the end of the project to avoid surface damage.
Preparing the Fence or Barrier for Graphics
Surface preparation matters just as much as material choice.
Inspect the Structure
Before printing anything, check the fence or panel system for damage, rust, or instability. A graphic applied to a compromised fence will fail faster and may create a safety issue. In a mall environment, the landlord's facilities team will likely have their own requirements here.
Clean the Surface
Remove dust, grease, and debris. On chain-link fences, check the mesh for oil or rust residue that could prevent grommets or zip ties from holding. On plywood panels, fill any large gaps or nail holes that would telegraph through the graphic.
Measure Accurately
This step is non-negotiable. Measure the full linear footage and the usable height of the printable area. Account for doors, gates, and any fixed obstacles. A measurement error at this stage means reprinting panels — which costs time and money you almost certainly don't have on a tight lease timeline.
If you're working with a vendor, share photos and drawings rather than rough estimates. At Rapid Retail Graphics, every project starts with a site survey to capture exact dimensions before any artwork is templated.
Designing the Graphics for a Fence Wrap
Panel Layout and Seam Planning
A construction fence wrap isn't a single continuous print. It's a series of panels that need to align visually when installed side by side. Your designer needs to know the panel width, the overlap or gap between panels, and where seams will fall relative to key design elements.
Keep faces, logos, and critical text away from panel seams. Plan the layout so seams land in neutral areas of the design.
Resolution Requirements
Large-format prints are viewed at a distance, so you don't need the same resolution as a magazine ad. For a fence wrap viewed from 3 to 6 feet away, 100 to 150 DPI at final print size is typically sufficient. For high-traffic mall corridors where shoppers walk directly past the hoarding, 150 DPI minimum is the safer target.
If you're adapting an existing campaign file, confirm the original artwork is large enough to scale up without pixelation. Vector elements scale cleanly; rasterized photos do not.
Color Matching
Print output varies by substrate and printer. If your brand has specific Pantone values, request a proof on the actual material before full production runs. This is especially important for fashion and health-and-beauty brands where color accuracy is part of brand standards.
For a closer look at what to specify when ordering large-format prints for retail hoarding, this overview covers the key decisions.
Installation Steps for a Construction Fence Wrap
Step 1: Stage Your Materials
Lay out all panels in sequence before you start installing. Confirm the panel order against the site plan and make sure your fastening system — grommets, zip ties, adhesive, or otherwise — is fully on hand.
Step 2: Start at a Fixed Reference Point
Begin at a corner, doorway, or other fixed structural point. This gives you a clean alignment reference from the start. Starting in the middle of a run and working outward lets small errors compound, and you'll end up with a visible misalignment at the far end.
Step 3: Attach the Top Edge First
For mesh or banner material on a chain-link fence, secure the top edge across the full panel length before tensioning the bottom. This keeps the graphic square. Run zip ties at every grommet point along the top, then work down the sides, then the bottom.
Tension the material evenly. Overtightening one corner pulls the graphic out of alignment and stresses the grommet holes.
Step 4: Align Panel Seams
Before fully securing each panel, check the seam alignment with the adjacent one. Most professional installs use a small overlap — typically 1 to 2 inches — rather than a butt joint. The overlap hides minor measurement variations and prevents gaps from opening as the material expands and contracts with temperature changes.
Step 5: Secure All Edges and Corners
Corners and edges are where wraps fail first. Add extra fastening points at corners, and consider a bead of outdoor-rated tape along any edge likely to catch wind or foot traffic.
For indoor mall installations on plywood hoarding, adhesive strips or double-sided tape along panel edges keep the graphic flat and prevent peeling in climate-controlled environments.
Step 6: Final Inspection
Walk the full length of the installation and check for bubbles, misalignments, loose grommets, and any areas where the graphic has lifted. In a mall setting, the landlord's operations team will often do their own walkthrough — it's worth catching anything before they do.
Timing and Coordination in Mall Environments
Mall installations come with an added layer of complexity. Most landlords require work to happen outside trading hours — typically overnight or early morning before stores open. That means coordinating your install crew, building access, and loading dock or elevator availability within a narrow window.
If you're managing this yourself, confirm the access window with mall operations at least a week in advance and build in buffer time for delays at the loading dock or security checkpoint.
For a full walkthrough of managing this process without disrupting shoppers or creating friction with mall management, see how to install branded construction barriers in a mall without disrupting shoppers.
When to Hire a Full-Service Vendor
A DIY fence wrap is feasible for a simple outdoor perimeter fence on a low-profile project. For anything inside a mall, on a tight timeline, or requiring landlord approval, the coordination burden usually outweighs whatever you'd save by self-managing.
The real problem most leasing coordinators and retail project managers face isn't finding a printer. It's managing a surveyor, designer, printer, and installer as separate vendors — while keeping mall operations satisfied and the barrier on-brand before opening day.
A full-service vendor handles all of that as a single managed delivery. At Rapid Retail Graphics, the process covers site survey, artwork adaptation, print production, and after-hours coordinated installation, with an average lead time of 1 to 5 business days from survey to installed barrier. Pricing starts at approximately $6 per square foot inclusive of print and standard installation, confirmed after reviewing your site photos and drawings.
If you want a quick number before committing to anything, the instant estimate calculator gives you a starting figure based on square footage.
Frequently Asked Questions
What material is best for wrapping a chain-link construction fence?
Mesh vinyl is the standard choice. Its perforated surface lets wind pass through, reducing stress on the fence and preventing the graphic from tearing or pulling loose in outdoor conditions.
How do I measure a construction fence for a graphic wrap?
Measure the full linear footage and the usable height of the printable area. Account for gates, posts, and fixed obstacles. Share photos and drawings with your print vendor so panels can be templated to exact dimensions rather than rough estimates.
What resolution do I need for a construction fence wrap?
For most outdoor fence wraps viewed from 3 to 6 feet away, 100 to 150 DPI at final print size is sufficient. For high-traffic indoor mall corridors where shoppers pass directly by the hoarding, 150 DPI minimum is the safer specification.
How do I prevent seams from showing on a fence wrap?
Plan your panel layout so seams fall in neutral areas of the design — away from faces, logos, and key text. Use a 1 to 2 inch overlap between panels rather than a butt joint. The overlap hides minor measurement variations and prevents gaps from opening as the material moves with temperature changes.
Can I use my existing brand campaign files for a construction fence wrap?
In most cases, yes. Vector elements scale cleanly to large-format sizes. Rasterized photos need to be large enough in the original file to avoid pixelation at print size. A print vendor experienced in retail hoarding can assess your files and adapt them to panel layouts without compromising brand integrity.
How long does it take to install a branded construction fence wrap in a mall?
Installation time depends on linear footage and barrier complexity. A typical mall hoarding install is completed in a single overnight window. With a full-service vendor, the end-to-end process from site survey to installed barrier averages 1 to 5 business days.
Do mall landlords have specific requirements for construction fence graphics?
Yes. Most major mall landlords — including Cadillac Fairview, Oxford, and Ivanhoé Cambridge — have documented standards covering material specifications, installation methods, and design approval requirements. Confirm these with your landlord before ordering any materials.
Get Your Wrap Right the First Time
A construction fence wrap is a short-lived surface with a lasting impression. Getting the materials, measurements, and installation right means your brand looks intentional from day one of the build-out — not like a last-minute fix.
If you're working against a lease deadline or managing a multi-location rollout, Rapid Retail Graphics handles the full process so you're not coordinating it across multiple vendors. Send your site details or use the instant estimate calculator to get a starting figure for your project.
Have a hoarding project coming up?
Get a Quote