2026-06-30
How to Prepare Brand Files for a Hoarding Graphics Project: A Production Checklist
By Rapid Retail Graphics Production Team — Production Specialists, 12+ Years in Retail Graphics
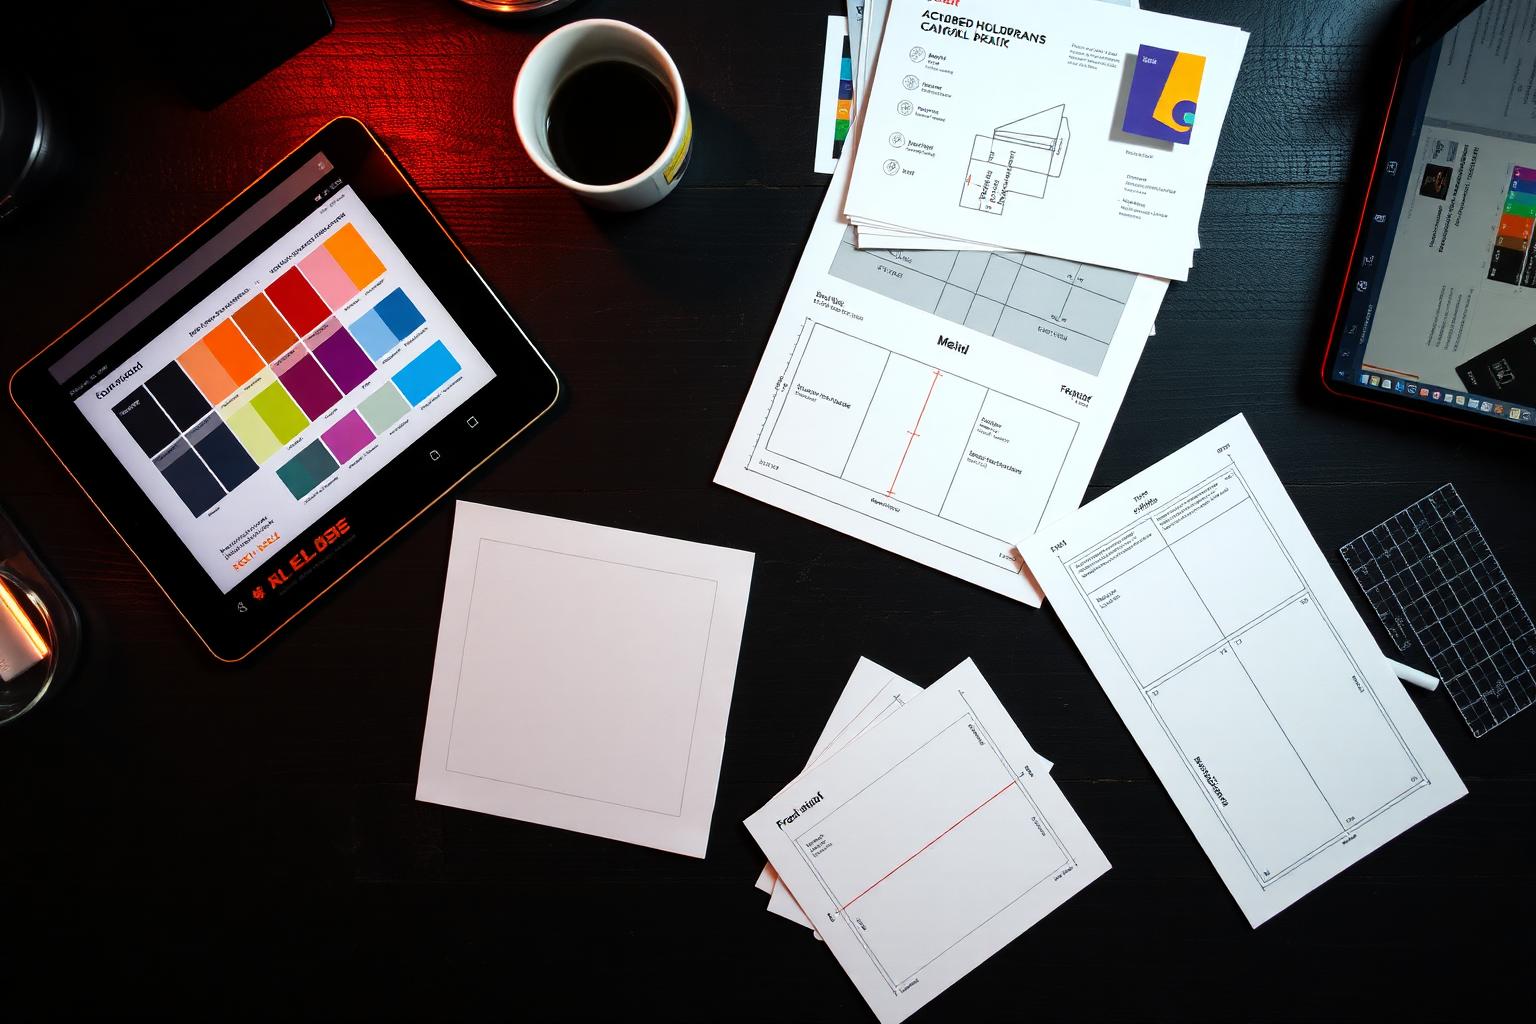
Retail graphic production for mall hoardings fails more often at the file stage than at the print stage. Most delays don't come from the printer — they come from artwork submitted at screen resolution, panel breaks placed across a face, or a CMYK conversion that never happened because the designer worked in RGB throughout. By the time the problem surfaces, the install window is already at risk.
This checklist covers the technical requirements that matter most: file specifications, panel break placement, and what print-ready actually means for large-format construction barriers in a mall environment.
Why Mall Hoardings Have Different Requirements Than Standard Retail Signage
A standard retail sign is a single panel at a fixed, predictable size. A hoarding spans 20, 40, or 80 linear feet of construction barrier, broken into sections that must align precisely on-site.
The scale changes everything. A file that looks fine at 24 inches will show compression artifacts, banding, and color inconsistency when output at 8 feet tall across 40 feet of wall. Large-format hoarding graphics are not a scaled-up version of standard signage specs. They are a different category of work with different production requirements.
The site itself adds another variable. Every mall location has different structural conditions — column positions, return walls, door openings, ceiling heights — all of which affect where panels can and cannot be placed. A 40-foot wall at a Cadillac Fairview centre will not match the dimensions at an Oxford Properties centre two cities over. Artwork built to estimated dimensions rather than confirmed site measurements is one of the most common causes of reprints and missed install dates.
File Specifications for Retail Hoarding Graphics
Resolution: 100 DPI at Final Print Size
The common mistake is submitting files at 300 DPI at a reduced scale without confirming what that resolves to at full size. A file built at 300 DPI at one-tenth scale outputs at 30 DPI when printed at full dimensions. That is not printable.
Build your file at actual print dimensions, or at a consistent reduced scale (1:4 or 1:10 are standard), and confirm the effective resolution at full output size. 100 DPI at final print size is the minimum for large-format hoarding graphics. 150 DPI is preferred for graphics viewed at close range — hoardings near a mall entrance or in a tight corridor where shoppers pass within a few feet of the barrier.
If your artwork includes photography, check the resolution of each placed image individually. A vector logo scales without issue. A hero image placed at 72 DPI from a brand asset library does not.
Color Mode: CMYK, Not RGB
Screens display in RGB. Large-format printers output in CMYK. The failure mode here is submitting RGB files and assuming the RIP software will handle the conversion accurately. It won't — not for brand-critical retail graphic work. Spot colors shift. Saturated reds go orange. Deep blacks lose density.
Convert to CMYK before submitting. Use the correct ICC profile for the print substrate. Printing on vinyl with a UV-curable printer uses a different profile than solvent printing on fabric. Confirm the profile with your printer before conversion, not after. If your brand has Pantone references, include them in the file notes and confirm how they map to the CMYK output profile being used.
File Format: PDF or TIFF
High-resolution PDF (PDF/X-1a or PDF/X-4) is the standard submission format for large-format retail graphics. Flatten all layers and embed all fonts before export. TIFF is acceptable for raster-only artwork.
Don't submit PSD, AI with linked files, or InDesign packages unless the printer has explicitly confirmed they can handle native files. Most production workflows don't accept them, and repackaging mid-project costs time you don't have.
Bleeds and Safe Zones
Hoarding panels require a minimum 0.5-inch bleed on all edges that will be trimmed or wrapped. Critical text and logos should sit at least 1 inch from any finished edge. For panels that butt against a structural column or return wall, extend the bleed to 1 inch on that edge to account for installation variance.
Safe zones are not optional. A logo sitting 0.25 inches from a panel edge will get clipped during installation if the barrier shifts even slightly. At 8 feet tall, that margin disappears fast.
Panel Breaks: Where They Go and Why It Matters
What a Panel Break Is
A hoarding is installed as a series of individual panels — typically 48 inches wide, matching standard substrate roll widths or sheet sizes. Each panel is printed separately and butted together on-site. The seam between panels is the panel break.
The artwork file must be set up to accommodate these breaks. If the file is treated as a single continuous image and sent to print without panel break planning, the printer will cut it arbitrarily. Seams end up across faces, logos, and key visual elements. The failure mode here is discovering this after the panels are printed and already on-site.
How to Place Panel Breaks Correctly
Panel breaks should fall in low-detail areas: sky, background gradients, solid color fields, negative space. They should never cross a face, a product, or a logo.
The practical process:
- Confirm the total hoarding width and height from the site survey — not from the lease drawing or a rough estimate.
- Map the panel widths across the full run. Standard is 48 inches, but structural conditions sometimes require narrower panels at columns or door frames.
- Overlay the panel grid on the artwork and identify where seams fall relative to key visual elements.
- Adjust the artwork composition to move critical elements away from seam positions, or shift the panel grid slightly to avoid conflicts.
- Document the final panel layout in a separate diagram and include it with the file submission.
If your retail graphic spans a corner or wraps around a column, each face needs its own panel layout. Don't assume the same grid applies to both sides.
Panel Overlap and Registration Marks
Some installations use a small overlap at panel edges rather than a pure butt join — particularly on exterior-facing hoardings or in high-traffic areas where the barrier may flex slightly. If your installer uses overlap, the artwork needs to account for it. A 0.25-inch overlap on each edge shifts the visible print area. Registration marks help the installer align panels on-site, especially on long runs where small cumulative errors compound.
Ask your installer which method they use before finalizing the file setup. This is not a detail to sort out during installation.
What Print-Ready Actually Means for Hoarding Graphics
Print-ready for a hoarding project means more than a high-resolution PDF. It means the file is set up specifically for the site, the substrate, and the installation method.
A file is print-ready when:
- Resolution is confirmed at 100 DPI minimum at final output dimensions
- Color mode is CMYK with the correct ICC profile embedded
- All fonts are embedded or converted to outlines
- Bleeds are present on all trimmed edges (0.5 inch minimum, 1 inch at structural edges)
- Panel breaks are mapped and documented
- Placed images are linked at full resolution, not screen-optimized proxies
- File dimensions match confirmed site measurements, not estimates
For a detailed breakdown of what print-ready means across different hoarding project types, this article on print-ready artwork for hoarding graphics projects covers the full production requirements.
Common File Problems That Delay Retail Graphic Installs
RGB Submission
The most common problem. A designer builds the artwork in RGB because they're working on screen. The file looks correct on their monitor. At print, brand colors shift noticeably. The printer either flags it for correction or, if they don't catch it, outputs work that doesn't match brand standards.
Mall ops won't delay an install over a color error. But your brand manager will reject the completed install, and the reprint and reinstall cost comes out of the project budget.
Artwork Built to Estimated Dimensions
Lease drawings and site sketches are not production dimensions. Walls have columns, conduit runs, and structural irregularities that don't appear on a floor plan. Artwork built to estimated dimensions frequently requires resizing, which degrades resolution and disrupts panel break placement.
The clock starts when confirmed site measurements are in hand — not when the lease is signed.
Missing Bleeds on Panel Edges
Designers who work primarily on digital assets often omit bleeds because digital files don't need them. On a hoarding, every panel edge that gets trimmed or wrapped needs bleed. A panel submitted without bleed will show a white edge or an unprinted substrate edge after installation.
Low-Resolution Placed Images
Brand asset libraries often contain images sized for web or social use — typically 72 DPI at screen dimensions. Placing a 72 DPI image into a large-format layout and scaling it up to fill an 8-foot panel produces visible pixelation. Always source the highest-resolution version of any placed image, and verify the effective resolution at final print size before submitting.
Incorrect or Missing Font Embedding
Fonts that aren't embedded or outlined will substitute on the printer's system, changing the layout. This is a basic requirement, but it gets missed — particularly when files pass through multiple designers or are assembled from separate brand components.
The Art Director Checklist Before File Submission
Use this before sending any retail graphic file for a hoarding project:
- ☐ File dimensions match confirmed site measurements (not estimates)
- ☐ Effective resolution is 100 DPI minimum at full print size
- ☐ Color mode is CMYK with correct ICC profile
- ☐ File format is PDF/X-1a, PDF/X-4, or high-resolution TIFF
- ☐ All fonts embedded or converted to outlines
- ☐ Bleeds present on all trimmed edges (0.5 inch minimum, 1 inch at structural edges)
- ☐ Safe zone maintained (1 inch from finished edge for critical elements)
- ☐ Panel break positions documented and mapped against artwork
- ☐ All placed images verified at full resolution
- ☐ Panel layout diagram included with submission
For a full version of this checklist structured for art directors working on hoarding projects, see the production checklist for preparing brand files for hoarding graphics.
Working With a Production Partner Versus Supplying Files Yourself
If your team supplies print-ready files, the checklist above applies in full. Any gap in the file spec creates a delay, and the delay lands on your install date.
If you work with Rapid Retail Graphics, the production team reviews your brand files against the confirmed site dimensions and flags any issues before production starts. If the files need adaptation, the team handles it. If you're starting from scratch, the team builds the artwork to the site layout. Either way, the artwork approval checkpoint is built into the project timeline — not added as an afterthought.
For brand managers who need to understand what happens between file submission and final approval, the checkpoint process for approving hoarding artwork covers each stage and who signs off at each point.
The full-service model covers site survey, artwork production, print, and installation. Most projects complete within 1 to 5 business days from first contact. Pricing starts at approximately $6 per square foot, inclusive of print and standard installation. Get a quote or use the instant estimate calculator.
FAQs
Have a hoarding project coming up?
Get a Quote