2026-09-23
Hoarding Install Checklist: Every Step from Survey to Sign-Off
By Bryce Mitchell — Founder, Rapid Retail Graphics
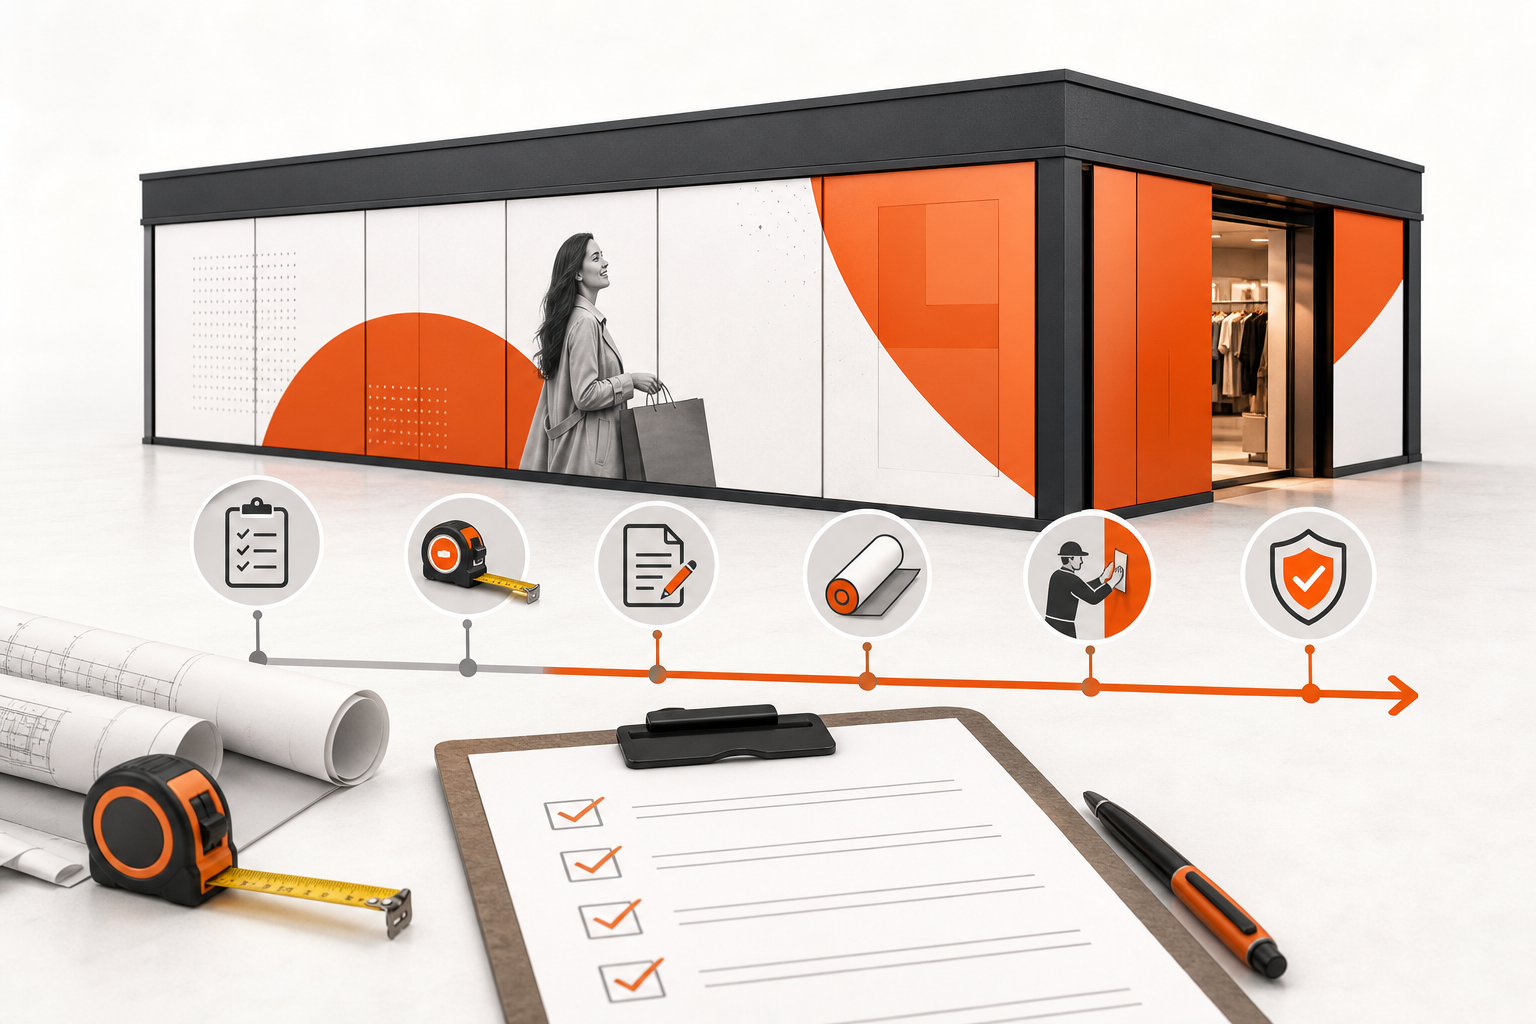
A lease is signed. The handover date is on the calendar. And somewhere between that moment and the day your hoarding goes up, a dozen small things can go wrong — missed measurements, unapproved artwork, an installation crew that shows up during trading hours.
This checklist covers every step in the process, in order, so nothing falls through the gaps on your timeline.
Before You Touch a Panel: The Pre-Install Phase
Most hoarding problems are created before a single panel is printed. The pre-install phase is where the job gets set up correctly — or set up to fail.
1. Confirm the Lease Line and Hoarding Footprint
Start with the physical boundaries. The hoarding must sit at or behind the lease line — not encroaching on common area. Pull the lease plan and confirm the exact dimensions: total linear footage, height restrictions, and whether any corners, recesses, or structural columns affect the panel layout.
If you're working with a landlord like Simon, Cadillac Fairview, or Oxford Properties, their operations team will have specific requirements for where the frame can be anchored and how far it can project into the walkway. Get those in writing before you order anything.
2. Conduct a Site Survey
A site survey is not optional. Drawings and lease plans are frequently wrong — or they reflect the space before the previous tenant's fit-out. The survey captures actual field dimensions: wall heights, existing anchor points, floor conditions, and any obstacles that affect panel sizing.
It also identifies access constraints: service corridors, loading dock hours, elevator dimensions if panels need to go up a floor. All of this affects installation scheduling.
3. Obtain Landlord Approval
Most mall landlords require a hoarding approval package before installation can proceed. This typically includes dimensioned drawings showing the panel layout, substrate specifications, a rendering or graphic proof, and confirmation that the installation method won't damage the structure.
Submit early. Approval timelines vary — some landlords turn it around in two business days, others take two weeks. If you're working against a fit-out start date, a delayed approval is the most common reason installations get pushed.
For a broader look at how hoarding fits into the leasing process, the leasing coordinator's guide to managing retail hoarding covers the approval workflow in detail.
The Production Phase
Survey done. Approval in hand. Now the graphic files become physical panels.
4. Prepare and Adapt Artwork
Hoarding panels are not standard ad formats. The dimensions from your site survey will almost certainly require artwork adaptation — extending backgrounds, repositioning copy, adjusting safe zones so text doesn't land on a panel seam.
If you're working from an existing campaign, provide the highest-resolution source files available. Vector files are ideal. If the originals were built for a different format — a window decal, a billboard, a social asset — the adaptation work is more involved.
Confirm bleed, panel overlap, and seam alignment before the file goes to print. A graphic that looks correct on screen can have misaligned joins on the wall if the panel layout wasn't mapped correctly at the artwork stage.
5. Select the Right Substrate
Substrate affects both the visual result and the installation method. Common options include rigid PVC, foam board, and direct-print corrugated systems — each with different weight, rigidity, and fixing requirements.
In high-traffic mall environments, durability matters too. A panel taking shopping cart impacts on a corner position needs a different specification than a flat run of graphics on a quiet corridor.
Your graphics vendor should specify the substrate based on the survey data, not based on what's cheapest or fastest to produce.
6. Proof and Sign Off
Before anything prints, a proof goes out for sign-off. This is not a courtesy step — it's the last point at which a colour error, a copy mistake, or a layout problem can be caught without reprinting.
The proof should show the full panel layout at scale, with seam positions marked. Review it against the site survey dimensions, not just against the original artwork brief.
The Installation Phase
Panels printed. Approval in hand. Now the job moves to the mall floor — and this is where coordination matters most.
7. Schedule the Installation Window
Mall installations almost always need to happen outside trading hours. That means early mornings, late evenings, or overnight shifts depending on the property's requirements. Confirm the permitted window with mall operations before you book the crew.
Also confirm: how many crew members are allowed on site at once, whether a mall operations representative needs to be present, and what the process is for accessing loading docks or service lifts.
For a detailed breakdown of how timing affects the full process, the six stages between brief and installed wall maps the schedule from the production side.
8. Prepare the Site
Before panels go up, the site needs to be ready:
- Existing fixtures or debris removed from the hoarding area
- Floor protection in place if required by the landlord
- Anchor points confirmed and accessible
- Any electrical or plumbing runs behind the hoarding wall identified and marked
If the previous tenant left anchors or fixings in the wall, the installation crew needs to know before they arrive — not when they're standing in front of it at 5am.
9. Install the Frame and Panels
The frame goes up first. Panel installation follows in sequence, working from one end to maintain alignment. Check seams at each panel before moving to the next.
Corner panels, returns, and angled sections need extra attention. These are the points where misalignment shows most visibly, and where gaps or buckling are most likely if the survey dimensions were off.
If the site survey was done correctly, the panels should fit without field cutting. If field cutting is needed, the survey or the production file had an error — and that error needs to be documented so it doesn't repeat on the next location.
10. Conduct a Post-Install Walkthrough
Before the crew leaves, walk the hoarding. Check every seam, every corner, every fixing point. Look at it from the distance a shopper would — not from six inches away.
Confirm that no panels are bowed, that graphics are aligned across seams, that the bottom edge is clean, and that no fixing hardware is visible from the front face.
If anything needs correcting, it's far easier to address while the crew is still on site.
Sign-Off and Handover
11. Document the Completed Installation
Photograph the finished hoarding from multiple angles: straight-on, from each end, and from the main pedestrian approach. Photograph any areas where field adjustments were made.
This serves two purposes. It gives the landlord a record for their files, and it protects you if there's a dispute later about the condition of the installation.
12. Obtain Landlord Sign-Off
Some landlords require formal sign-off on the completed installation before fit-out work can begin behind the hoarding. Confirm whether this applies at your property and who the sign-off contact is.
If the landlord has concerns, address them immediately. Delays at this stage push back the fit-out start date — which pushes back the opening date.
13. Brief the Tenant or Brand Team
If you're a leasing coordinator handing off to a brand team, brief them on what's behind the hoarding, what the removal process will look like, and who to contact if a panel is damaged during the fit-out.
Hoarding panels are not indestructible. A contractor working behind the barrier can damage the front face without realising it. The brand team needs to know to check the exterior periodically.
Using a Single Vendor to Manage the Process
The checklist above assumes you're coordinating multiple parties: a surveyor, a designer, a printer, an installation crew, and a mall operations contact. That's the default for most leasing teams managing hoarding in-house.
The alternative is a single-vendor model where one provider handles the survey, artwork adaptation, production, and coordinated installation. That structure removes the handoff points where errors and delays typically occur.
Rapid Retail Graphics runs the full process — site survey through to installed panels — for mall landlords, leasing teams, and retail brands across North America. If you want to understand what the process looks like end to end before you engage anyone, hoarding signage 101 covers the fundamentals.
For details on timelines and scope, visit rapidretailgraphics.com.
FAQs
Have a hoarding project coming up?
Get a Quote