2026-08-17
Construction Hoarding Graphics: From Site Survey to Installed Wall
By Bryce Mitchell — Founder, Rapid Retail Graphics
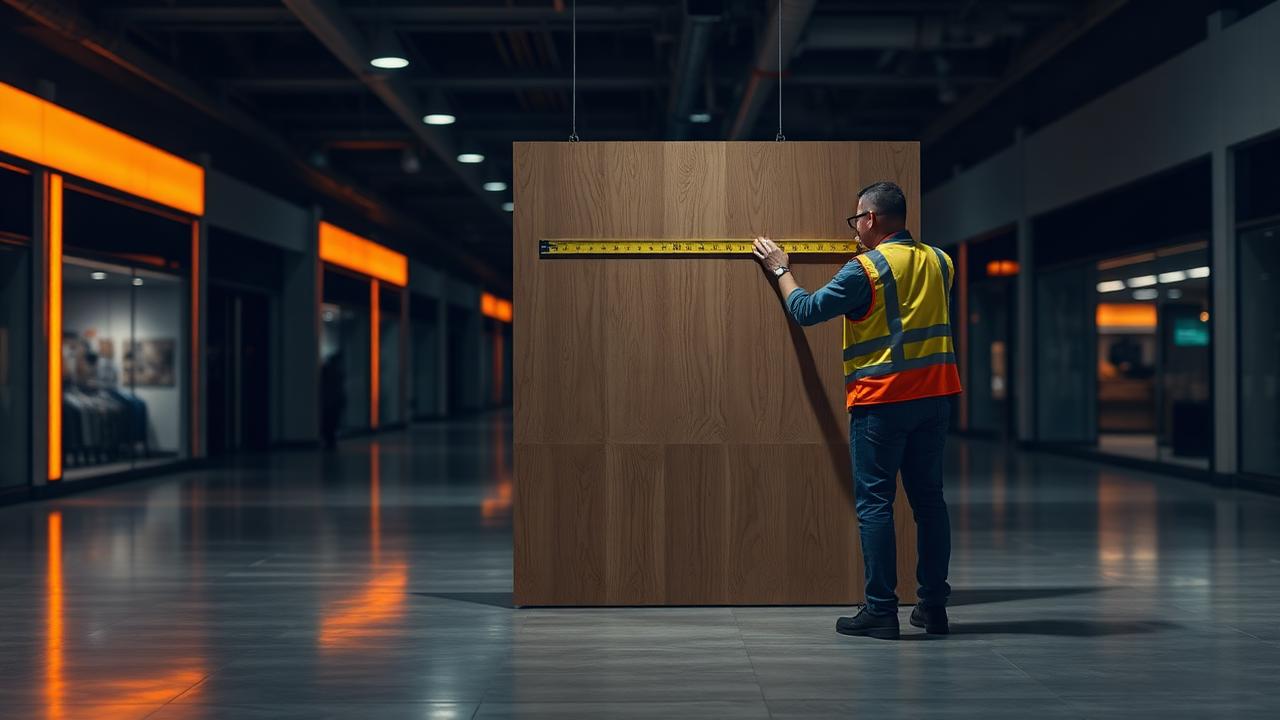
You have a lease signed, a handover date on the calendar, and a bare plywood barrier standing between your brand and every shopper walking past that unit. What happens between that blank wall and a finished, on-brand installation is a process most people only think about once they're already behind on it.
This article walks through the full lifecycle of a construction hoarding graphics project — from the first site visit to the moment installation wraps and mall operations signs off. If you're a leasing coordinator, retail project manager, or brand manager coordinating a store opening or renovation, this is the sequence worth understanding before the clock starts running.
What Construction Hoarding Graphics Actually Involves
Construction hoarding is the temporary barrier that encloses a retail space during fit-out or renovation. The graphics on that barrier do two things: they protect the brand experience for shoppers walking past, and they satisfy mall landlord requirements for how the common area looks.
Getting it right involves more than printing a large image and sticking it up. The panel layout has to match the physical structure of the hoarding, the materials need to meet the durability and finish standards most mall operators require, and installation has to happen without disrupting trading hours or creating a compliance issue with mall operations.
If you're new to the category, the guide to construction hoarding for retail property managers is a useful starting point before working through the process below.
Stage 1: Site Survey and Measurements
Every project starts with a site survey. This is where the physical reality of the hoarding gets documented — panel dimensions, seam locations, door positions, any protrusions or irregularities in the structure, and the total linear footage of the barrier.
Measurements taken from drawings alone are rarely enough. Construction hoardings are built on-site and often differ from architectural plans. A panel that should be 48 inches wide might come in at 46.5 inches depending on how the frame was assembled. Produce artwork to the wrong dimensions and seams fall in the wrong places, graphics don't align across panels, and the finished wall looks like no one checked it.
A proper survey also captures surface condition, substrate material, and any existing fixtures that affect how graphics will be applied. For a detailed breakdown of what gets covered, see what a hoarding graphics site survey actually covers, or book one through our retail hoarding survey page.
Stage 2: Artwork Template Production
With accurate measurements in hand, the next step is building panel templates — scaled artwork guides that show exactly where each panel starts and ends, where seams fall, and how the full graphic composition maps across the barrier.
If you're supplying existing brand files or campaign creative, this is where those assets get adapted to the physical layout. A hero image might need to be repositioned so a face doesn't land on a seam. Typography needs to stay within safe zones. Bleed and overlap at panel edges have to be built into the file.
This is where brand integrity either holds or breaks. A vendor that skips proper templating and just tiles a flat image across panels will produce a result that looks assembled without anyone checking. For brand managers who own creative approval, this is the stage where your involvement in the review process matters most — our hoarding graphics design team handles the adaptation work end to end.
Stage 3: Large-Format Print Production
With approved artwork files, production moves to large-format printing. For retail hoarding, the standard output is a durable vinyl or similar substrate with a cleanable surface finish. Larger mall landlords often specify finish requirements, and the print material needs to meet those standards.
Print quality at this scale depends on file resolution, color profile management, and the substrate selected. Graphics that look sharp on screen can print poorly if source files aren't prepared for large-format output — which is another reason the artwork production stage matters. Files need to be output-ready before they go to press, not corrected after.
Production lead time is typically one to two business days for standard orders, assuming files are approved and ready to go. Our hoarding graphics printing page lists the standard substrate and finish options, and large-format printing for construction barriers covers what to specify before ordering.
Stage 4: Coordinating with Mall Operations
Before installation can happen, someone has to coordinate with the mall. That means submitting graphics for landlord approval if required, scheduling the installation window with mall operations and security, and confirming access logistics for the crew.
Major landlords including Cadillac Fairview, Oxford, and Ivanhoe Cambridge each have their own approval processes and standards. Knowing those requirements in advance — and having a track record of working within them — reduces the risk of last-minute rejections or rework. Our breakdown of what mall operations requires before scheduling an install lays out the paperwork.
This step is often the one that catches teams off guard when they're managing it for the first time. Mall operations teams have their own timelines and priorities. Booking an after-hours installation window isn't as simple as picking a date.
Stage 5: Installation
Installation is scheduled outside trading hours to avoid disrupting foot traffic and to comply with most landlord requirements — typically early morning or overnight windows.
The crew arrives with pre-cut, pre-printed panels matched to the survey measurements. Application follows the panel sequence established during the template stage. Seams are aligned, graphics are smoothed and checked for bubbles or lifting edges, and any door or access panel graphics are fitted to the hardware.
A well-run hoarding graphics installation on a standard retail hoarding takes a few hours. What extends that time is usually surface irregularities that weren't captured in the survey, access complications, or panels that need on-site trimming because the structure shifted after the survey was completed. See how we run installs without disrupting shoppers.
Stage 6: Handover and Sign-Off
Once installation is complete, the project is documented and handed over. That typically includes photos of the finished wall for your records and for any landlord sign-off requirements.
If the hoarding will be in place for an extended period, durable cleanable finishes allow for routine maintenance without damaging the graphics. Scuffs and marks from foot traffic or cleaning crews wipe down without affecting the print.
The six-stage hoarding graphics install timeline covers the full sequence in more detail if you want to see how each stage maps to a project calendar.
How Long Does the Full Process Take?
From site survey to installed wall, the average lead time is 1 to 5 business days for standard projects. Rush options are available for tighter timelines.
That window assumes artwork is approved and ready, or that existing brand files can be adapted without significant revision cycles. Projects requiring multiple rounds of creative approval will take longer. The most common cause of delays isn't production or installation — it's artwork sign-off sitting in someone's inbox.
If you're working backward from a store opening or handover deadline, start the hoarding graphics process as soon as the lease is executed. Two to three weeks of lead time is comfortable. One week is manageable. Less than that requires a conversation about what's feasible with a rush option.
What It Costs
Pricing runs approximately $6 per square foot, inclusive of print and standard installation. Final pricing is confirmed after reviewing site photos and drawings, since surface conditions, access logistics, and panel complexity all affect the actual scope.
For a rough number before you have site details ready, the instant estimate calculator gives you a working figure based on linear footage and height.
A typical retail hoarding for a mid-size unit in a regional mall will fall somewhere between $5,000 and $15,000 depending on size and complexity. Larger flagship spaces or multi-entrance barriers will sit toward the higher end. The cost-per-square-foot breakdown explains what drives the number.
Why Single-Vendor Scope Matters on a Tight Timeline
The most common coordination problem in retail hoarding projects is fragmentation. One vendor does the survey, another produces the artwork, a third handles print, a fourth manages installation. Every handoff is a potential delay — and when the timeline is already tight, one missed deadline cascades into the next.
A full-service scope, where survey, artwork, print, and installation are handled under one vendor relationship, removes those handoff risks. It also means one point of contact for mall operations coordination, one approval process, and one clear line of accountability if something needs to be corrected. Our process page walks through each stage in order.
For leasing coordinators managing multiple locations or brand managers working across markets, that consolidation matters as much as the price per square foot.
FAQs
What is a site survey for construction hoarding graphics?
A site survey is a physical visit to the hoarding location to measure panel dimensions, document seam positions, note surface conditions, and capture any structural details that affect how graphics are produced and installed. Measurements from drawings alone are often inaccurate because on-site construction regularly varies from plans.
How long does it take to go from site survey to installed hoarding graphics?
The average lead time is 1 to 5 business days from survey to installation for standard projects. Rush options are available for tighter timelines. Artwork approval is typically the variable that most affects total project duration.
What materials are used for retail construction hoarding graphics?
Large-format vinyl with a durable cleanable surface finish is standard for retail hoarding. The specific substrate is selected to meet mall landlord finish requirements and to hold up to foot traffic, cleaning, and the full duration of the construction period.
Do I need landlord approval before installing hoarding graphics?
Most major mall landlords require graphics approval before installation. The process and standards vary by landlord. Working with a vendor that has documented experience with operators like Cadillac Fairview, Oxford, and Ivanhoe Cambridge reduces the risk of rejection or last-minute rework.
Can I use my existing brand campaign files for hoarding graphics?
Yes. Existing brand files and campaign creative can typically be adapted to the panel layout produced during the site survey. That adaptation process ensures seams, safe zones, and panel edges are handled correctly so the finished installation maintains brand integrity across the full barrier.
When should I start the hoarding graphics process relative to my store opening date?
Start as early as possible after lease execution. Two to three weeks of lead time is comfortable. One week is workable with a rush option. Less than that requires an immediate conversation with your vendor about what's actually feasible.
What does construction hoarding graphics typically cost?
Pricing runs approximately $6 per square foot inclusive of print and standard installation, with final pricing confirmed after a site review. A typical mid-size retail unit installation falls between $5,000 and $15,000 depending on the size and complexity of the barrier.
Getting construction hoarding graphics right is a process problem as much as a production problem. The quality of the finished wall depends on accurate measurements, properly prepared artwork, and installation that happens on time without creating friction with mall operations.
If you're within a few weeks of a store opening or renovation handover and need a clear picture of scope, timeline, and cost, send us your site details and we'll handle the full process from first survey to installed wall.
Have a hoarding project coming up?
Get a Quote