2026-08-17
Construction Fence Graphics for Retail Sites: Specifications Every Brand Team Should Know
By Bryce Mitchell — Founder, Rapid Retail Graphics
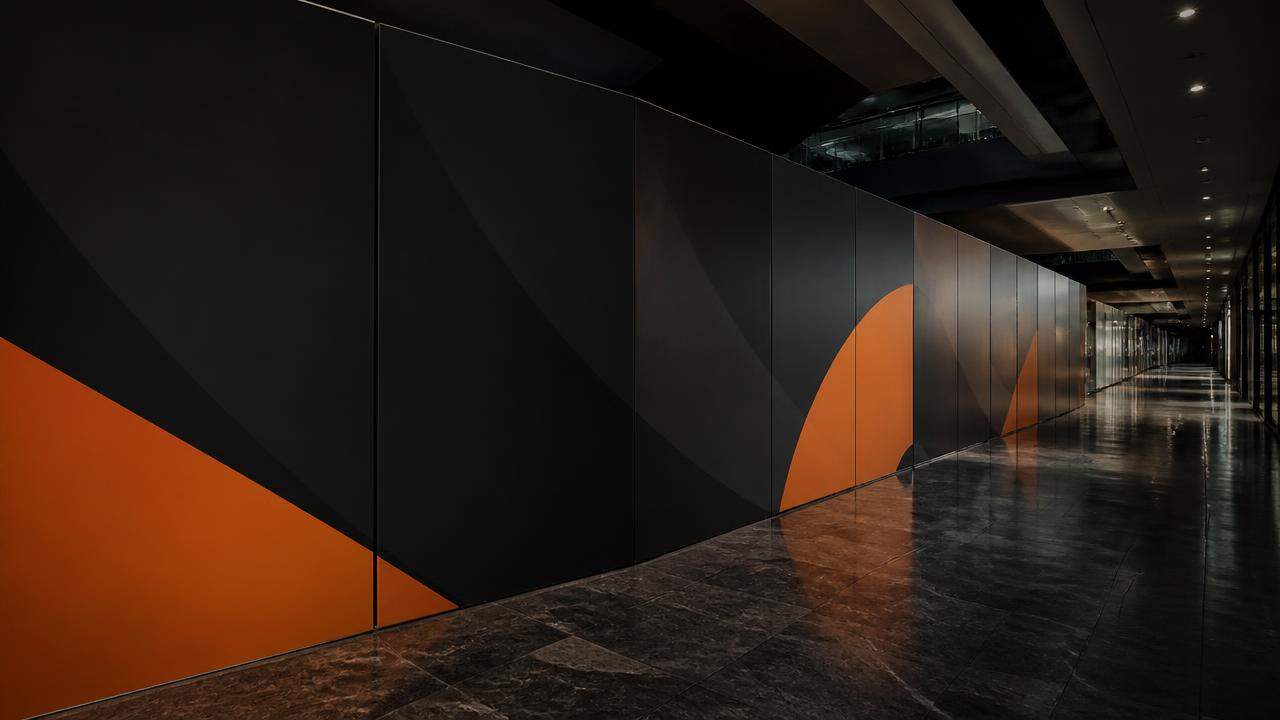
When a lease is signed and the contractor moves in, the hoarding goes up fast. What goes on it takes planning that most brand teams underestimate until they're already behind. Construction fence graphics for retail sites aren't just a print job. They're a branded surface that has to meet landlord specs, survive foot traffic and cleaning cycles, and represent your brand accurately for weeks or months at a time.
This article covers the specifications that matter most: panel dimensions, substrate and finish requirements, file setup, landlord approval considerations, and the production details that separate a clean install from a costly redo.
Why Retail Hoarding Graphics Have Different Requirements Than Standard Signage
A construction barrier in a mall or retail corridor operates in a different environment than a window graphic or a freestanding display. Foot traffic grazes it. Cleaning crews scrub it. Mall security and operations teams inspect it. And the landlord's design standards team has to sign off before anything goes up.
That combination of physical durability, brand accuracy, and compliance requirements is why construction fence graphics for retail projects need their own specification checklist. The rules that apply to standard retail signage often don't transfer directly to a hoarding panel. Retail signage and hoarding graphics have distinct regulatory and landlord approval differences worth understanding before you start file prep.
Panel Dimensions and Layout Planning
Measure the Actual Barrier, Not the Lease Drawing
Lease drawings show nominal dimensions. The installed barrier almost never matches exactly. Stud spacing, corner returns, door cutouts, and existing wall conditions all affect final panel sizes. Before any artwork is produced, a physical site survey is the only reliable way to get accurate measurements.
Panel widths in mall hoarding installations commonly range from 24 to 48 inches, with heights typically between 8 and 10 feet depending on the barrier system and landlord requirements. Corner panels, door surrounds, and end returns require separate templates because they rarely match the standard field panels.
Account for Seams and Overlaps
Printed panels butt together or overlap at seams. If your artwork has a continuous graphic running across multiple panels, seam placement has to be planned into the layout before printing — not corrected after. Logos, faces, and product shots should be positioned so they don't land directly on a seam. Background patterns and color fields are more forgiving.
Ask your vendor for a panel layout diagram before artwork production begins. It shows exactly how many panels you're working with, where the seams fall, and which panels require unique dimensions.
Substrate and Finish Specifications
What Retail Hoarding Panels Are Printed On
The most common substrates for mall hoarding graphics are PVC foam board, coroplast, and direct-print rigid panels. For graphics applied to an existing barrier surface, pressure-sensitive vinyl with a laminate overcoat is standard.
Each substrate has different weight, rigidity, and edge-finishing requirements. Rigid panels are typically face-mounted to the barrier frame. Vinyl graphics are applied directly to the hoarding surface and may need to be removable without damaging the underlying material — something landlords pay close attention to at handover.
Finish Requirements for High-Traffic Environments
Matte laminate reduces glare under mall lighting and is the most common finish choice for hoarding graphics. Gloss laminate shows fingerprints and scuffs more visibly, which matters in a high-contact environment. Some landlords specify a particular finish in their hoarding standards, so check the requirements for your specific property before committing.
Cleanable finishes are a baseline expectation, not an upgrade. Cleaning crews use commercial products, and the laminate has to hold up to repeated wiping without delaminating or showing surface damage. Our guide to materials and finishes for high-traffic malls compares the options side by side.
File Setup and Artwork Requirements
Resolution and Color Mode
Large-format hoarding graphics are produced at lower resolution than desktop printing because viewing distance is greater. The standard specification is 100 to 150 DPI at full print size. Files submitted at 72 DPI, or at a reduced scale without resolution adjustment, will produce soft or pixelated output.
Color mode should be CMYK, not RGB. RGB files can be converted, but the color shift can be significant for brand colors. If your brand has Pantone specifications, provide them alongside your CMYK values and confirm with your print vendor how they handle color matching on large-format equipment.
Bleed, Safe Zones, and Panel Margins
Every panel template should include:
- Bleed: Typically 0.25 to 0.5 inches beyond the trim edge on all sides. This prevents white edges if the panel is trimmed slightly off-mark.
- Safe zone: Keep critical content, logos, and text at least 0.5 to 1 inch inside the trim edge. Elements placed too close to the edge risk being cut off or obscured by framing.
- Seam margins: For continuous graphics, allow additional margin on panel edges that will be adjacent to another panel.
If you're adapting existing campaign creative to a hoarding layout, the proportions almost never match directly. A design team experienced in hoarding production can recompose the artwork to fit the panel grid without losing the intent of the original design.
Working With Existing Brand Files
Most brand teams have campaign assets built for digital or standard print formats. Adapting those files to a hoarding layout means recomposing for vertical or horizontal panel proportions, extending backgrounds, and repositioning type and product elements.
Provide your vendor with the highest-resolution source files available — not flattened exports. Layered files give the production team flexibility to recompose without degrading image quality. If you're working from a brand guide, include it so the vendor can match typography, color, and spacing to your standards.
For a thorough overview of how large-format production works in a retail hoarding context, what you need to know before ordering large-format printing for retail hoarding covers the production side in detail.
Landlord Approval Requirements
What Mall Landlords Typically Review
Most major mall landlords require hoarding graphics to be submitted for design approval before installation. The review typically covers:
- Overall graphic design and brand consistency
- Compliance with the landlord's hoarding design guidelines (color palette restrictions, logo placement rules, prohibited content)
- Panel layout and full barrier surface coverage
- Finish and material specifications
Landlords like Cadillac Fairview, Oxford Properties, and Ivanhoe Cambridge each have their own standards documents. Some require submission through a specific portal; others accept PDF packages via email. Approval timelines vary, but two to five business days is a reasonable expectation for a complete submission. Our mall landlord program page explains how we manage those submissions on behalf of brand teams.
What Gets Rejected
Common reasons hoarding submissions come back include:
- Artwork that doesn't cover the full barrier surface, leaving raw hoarding material visible
- Text or graphics that don't meet minimum height or legibility standards
- Use of competitor brand names or prohibited content categories
- Finish specifications that don't meet the landlord's cleanability requirements
- Missing or incorrect panel dimensions in the submission package
A rejection adds days to your timeline. Submitting a complete, accurate package the first time is worth the effort — the landlord review checklist walks through each item before you submit.
Installation Specifications
After-Hours Installation
Mall installations are almost always scheduled outside trading hours. This protects shoppers, satisfies mall operations requirements, and gives the installation crew unobstructed access to the barrier. Confirm your installation window with mall operations before scheduling, and make sure your vendor is set up to coordinate directly with mall security for access.
Fastening and Surface Compatibility
How panels attach to the barrier depends on the barrier system. Common methods include direct adhesive application, mechanical fastening through pre-drilled holes, and clip or track systems. The fastening method affects both the panel substrate choice and the removal process at project end.
If the barrier is a temporary stud-and-drywall construction, the attachment method needs to account for the surface finish and any restrictions on penetrations. If the landlord requires the barrier returned to a specific condition at handover, removable adhesive or clip systems are worth specifying upfront.
Panel Handling and Storage
Large rigid panels are awkward to move through a mall corridor. Panels should be delivered in manageable quantities and staged so they don't block fire exits or retail traffic. Coordinate delivery timing with your installation window so panels aren't sitting in the mall for hours before the crew arrives. Our approach to installing without disrupting shoppers covers staging and access in more detail.
Timeline Planning for Brand Teams
The specification and production process for retail hoarding graphics has several sequential steps that can't be compressed indefinitely.
A realistic minimum timeline from project kickoff to installed barrier:
Working backward from your opening date, two weeks of lead time is a practical minimum when you account for every step. If you're inside that window, rush production options can compress the print and installation steps — but landlord approval timelines are outside your vendor's control.
Rapid Retail Graphics manages the survey, artwork, print, and installation steps under one coordinated process, with an average install lead time of 1 to 5 business days once artwork is approved. You can get a project estimate using the instant calculator.
A Quick Specification Checklist
Before you brief a vendor or start file prep, confirm you have answers to these questions:
- Do you have accurate panel dimensions from a physical site survey?
- Do you know the landlord's hoarding design guidelines for this property?
- Are your brand files available in layered, high-resolution format?
- Have you identified seam placement in the panel layout?
- Do you know the finish and substrate requirements for this location?
- Is the installation window confirmed with mall operations?
- Have you built landlord approval time into your project schedule?
FAQs
What resolution should construction fence graphics be submitted at?
Large-format hoarding graphics are typically produced at 100 to 150 DPI at full print size. Files submitted at 72 DPI or at a reduced scale without adjusting resolution will produce soft output. Confirm the exact specification with your vendor before preparing files.
Do mall landlords always require design approval for hoarding graphics?
Most major mall landlords require design approval before installation. The review covers graphic design, material specifications, and compliance with the property's hoarding standards. Approval timelines are typically two to five business days for a complete submission.
What file format should I provide for hoarding artwork?
Layered source files — AI, PSD, or INDD — give production teams the most flexibility for adapting artwork to panel layouts. Provide CMYK color values and any Pantone references alongside your files. Flattened exports at reduced resolution are harder to work with and may produce quality issues at large print sizes.
Can existing campaign creative be adapted to hoarding panel layouts?
Yes, but campaign asset proportions rarely match hoarding panel dimensions directly. A production team experienced in hoarding can recompose artwork to fit the panel grid while maintaining brand intent. Provide the highest-resolution source files available rather than flattened exports.
What finish is standard for mall hoarding graphics?
Matte laminate is the most common choice because it reduces glare under retail lighting and holds up well through cleaning cycles. Some landlords specify finish requirements in their hoarding standards, so confirm before production.
How far in advance should a brand team start the hoarding graphics process?
Two weeks before the installation date is a practical minimum when you account for site survey, artwork production, landlord approval, print, and installation scheduling. Rush options can compress some steps if you're inside that window, but landlord approval timelines are not within a vendor's control.
What happens if hoarding panels don't cover the full barrier surface?
Exposed hoarding material is one of the most common reasons for landlord rejection. Every panel in the layout needs to be measured and produced to cover the full surface, including corner returns, door surrounds, and any irregular sections. A physical site survey before artwork production is the most reliable way to prevent this.
Get Your Hoarding Project Specified Correctly From the Start
The specifications covered here aren't bureaucratic details. They're the difference between a clean, on-brand install that clears landlord approval on the first submission and a project that burns a week on revisions while your opening date gets closer.
If you're working toward a store opening or renovation handover and need a vendor that handles survey, artwork, print, and installation as one coordinated process, send us your site details to get an estimate and review the full service scope.
Have a hoarding project coming up?
Get a Quote