2026-05-04
Hoarding Graphics Case Study: 48-Hour Turnaround for a Mall Brand Launch
By Mike Torres — Senior Install Coordinator, 12+ Years in Retail Fit-Out
The Situation: A Brand Launch With No Room for Delay
You've been here before. A retail brand confirms their fit-out date later than expected. The lease is live. The hoarding wall is up — bare plywood facing the main concourse of a busy Canadian shopping centre. The brand's opening event is in two days.
That's not a hypothetical. It's a pattern that repeats across mall openings every month.
The question isn't whether fast retail hoarding is possible. It's whether the vendor you're calling has actually done it under real conditions — with mall operations sign-off, brand-accurate output, and a finished install before trading hours the next morning.
This case study walks through exactly how a 48-hour retail hoarding install runs from first contact to photo proof.
Why 48 Hours Is the Real Test for Retail Hoarding
Most print vendors quote 5 to 10 business days for large format work. That timeline is fine for window graphics or seasonal displays. It doesn't work when a brand's launch event is already scheduled and the hoarding wall is bare.
The problem isn't just speed. Fast retail hoarding requires several things to happen in parallel:
- Accurate site measurements — wrong dimensions mean reprints
- Artwork adapted to the specific panel layout of that wall
- Mall operations access approval, typically requiring 48 to 72 hours notice at centres managed by landlords like Cadillac Fairview or Oxford
- Print production on a substrate that meets the centre's finish requirements
- An install crew available outside of trading hours
A general print shop can manage one or two of these. Hitting all of them within 48 hours requires a process built specifically for mall environments. The large format printing vs. retail hoarding graphics guide covers the key distinctions.
How the Project Actually Ran
Day 0: Brief and Site Survey
The call came in at 9:00 AM on a Tuesday. A retail brand manager needed hoarding graphics up before Thursday morning — a flagship coming soon installation in a high-traffic mall concourse. The fit-out contractor had just confirmed the hoarding structure was in place.
By early afternoon, an on-site visit was complete. The crew photographed the full hoarding run, recorded panel dimensions, noted the substrate — a standard plywood panel system with aluminium trim — and confirmed the access window with mall operations.
That same-day site survey isn't optional. Artwork built from floor plans or rough estimates almost always has dimensional errors. On a hoarding wall, a 50mm discrepancy across a panel joint shows. Re-printing and re-shipping costs time and money. Worse, it usually means the barrier goes up bare. See what a site survey actually covers for the full breakdown.
Day 1: Artwork Adaptation and Approval
The brand provided existing campaign creative — hero imagery and brand lockup already approved internally. The job was adapting that creative to a specific panel layout: three panels wide, each 2400mm × 2400mm, with a corner return on the left side.
Artwork was templated to the exact measurements from the site survey, with panel breaks positioned to avoid cutting through faces or key visual elements. A proof went to the brand manager by mid-morning.
One revision came back: a logo repositioning on the corner panel. Resolved within the hour. Print-ready files were confirmed by 1:00 PM.
Production ran that afternoon. The substrate was matte laminate vinyl applied to Coroplast backing — durable, cleanable, and consistent with the centre's finish requirements. Matte laminate matters in high-ambient-light concourses; gloss finishes create reflective hot spots that flatten the imagery.
Day 2: Print, Coordinate, and Install
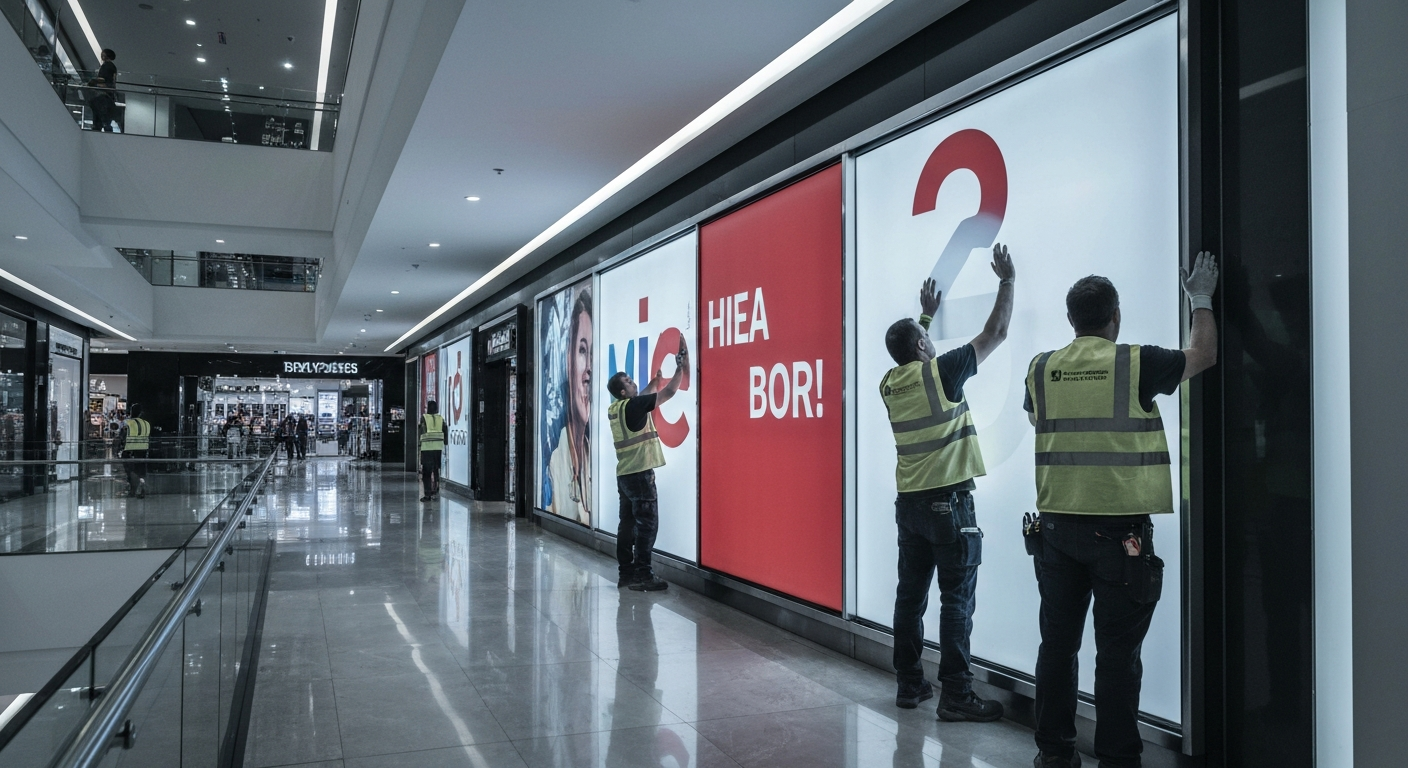
The install crew arrived at 11:00 PM Wednesday, after the mall closed. Mall operations had confirmed the access window the previous afternoon — a standard after-hours contractor slot.
Panels were applied in sequence, seams aligned to the panel joints, and the corner return finished with a clean wrap. The install took under three hours.
Photo proof went to the brand manager and leasing coordinator at 2:15 AM Thursday. The wall was brand-accurate and complete before the centre opened at 10:00 AM.
What Made This Possible — and What Almost Didn't
Three things kept this project on track.
Same-day site survey. Without accurate measurements from the actual wall, the artwork adaptation would have been built on assumptions. That's how you end up with panel seams running through a face, or a logo landing 80mm off-centre.
Print-ready brand files. The brand had campaign creative in high-resolution format with the correct colour profiles. If those files had needed rebuilding from low-resolution sources, the Day 1 timeline would have broken. If your brand files aren't print-ready, build in at least an extra half-day.
A pre-established mall operations contact. The access request went to a known contact at the centre's operations team — not a general inbox. That's the difference between a confirmed install window and a 24-hour wait for a reply. The guide on working with mall security and operations is worth reading before your next project.
What almost didn't work: the corner return. Corner panels require a separate measurement pass — the return depth on this particular hoarding structure was non-standard at 320mm rather than the typical 300mm. Catching that on-site avoided a reprint.
The Business Case for Fast Retail Hoarding
A bare hoarding wall on launch day isn't just an aesthetic problem. It's a missed opportunity in one of the highest-traffic positions in the centre.
A coming soon graphic does real work: it signals the brand's arrival to shoppers, builds anticipation before opening, and tells the centre's leasing team that the tenant is professional and on schedule. A blank wall signals the opposite.
At roughly $6 per square foot for print and standard installation, hoarding graphics are a small line item relative to fit-out costs. The risk of skipping them — or delaying them until "everything is ready" — is disproportionate to the saving.
The set-and-forget approach carries its own cost. A coming soon graphic still running six weeks after the store opens, or a hoarding wall showing creative from a previous season, creates brand inconsistency that's visible to every shopper who walks past. Knowing when to refresh hoarding graphics is part of managing the asset properly.
What to Have Ready Before You Call
When your timeline is tight, the fastest way to compress it is to arrive at the first conversation prepared. Here's what moves things forward:
- Confirmed hoarding dimensions, or access for a same-day site visit
- Brand files in high-resolution format — vector logos and campaign imagery at full size
- Your install deadline — the specific date and time the wall needs to be complete
- Centre name and landlord — so the operations access request can go out immediately
- Any centre-specific finish requirements — some landlords specify matte-only or restrict certain substrates
If you're managing a multi-location rollout rather than a single launch, the coordination requirements scale quickly. The multi-location hoarding graphics guide for Canadian retail chains covers how to structure that process.
FAQs
If Your Timeline Is Already Tight
A 48-hour retail hoarding install isn't standard — but it's repeatable when the right process is in place. Same-day site surveys, parallel artwork and operations coordination, and after-hours installs are what compress the timeline without cutting corners on output quality.
If you're managing a launch with a wall that needs to be covered fast, the time to start is now. Every hour of delay on the first call is an hour off the install window. Get an instant estimate, request a quote, or call (604) 220-7700.
Have a hoarding project coming up?
Get a Quote